
The complete guide
How to Choose and Fit a Screw-In Shower Strainer Grid
The small part that ruins a good shower
Most shower problems announce themselves loudly. A dripping head, a cracked tile, water pooling where it should not. The drain grid is different. It fails quietly. One day you notice the plastic has gone the colour of weak tea, or a corner has snapped off around a screw hole, or the whole thing is sitting crooked because someone's heel caught it. It still works, sort of. It just looks bad and lets more hair through than it should.
That is the moment people start searching for a replacement, and that is where it gets slightly confusing, because drain covers are not one size. They come in a handful of common patterns, and the wrong one will sit loose, rock underfoot or simply not reach the screw holes.
This guide is about getting that right the first time. It covers how a screw-in strainer grid works, how to measure yours, what the materials actually change, how to fit it, and how to keep it working.
What a screw-in strainer grid actually does
A strainer grid is a filter and a cover in one. It sits over the mouth of the drain and lets water through the slots while stopping the solid stuff.
In a shower, the solid stuff is mostly hair. Hair is the main villain in bathroom drains because it does not dissolve and it does not wash through. It snags on any rough edge inside the pipe and then catches soap scum, skin cells and whatever else is going past. Over weeks and months that builds into a mat. The water gets slower. Eventually it stops.
A grid interrupts that process at the very start. Hair catches on the bars at the surface, where you can see it and lift it off. It never gets into the pipe, so it never starts the mat.
The screw-in part matters too. A loose cover that just drops into the recess can lift when water surges, shift when you step on it, and float out entirely in a heavy rinse. Two screws hold the grid flat and fixed so it stays where it belongs.
Getting the measurements right
This is the whole ballgame. Everything else about choosing a drain grid is secondary to whether it physically fits.
There are two numbers you need.
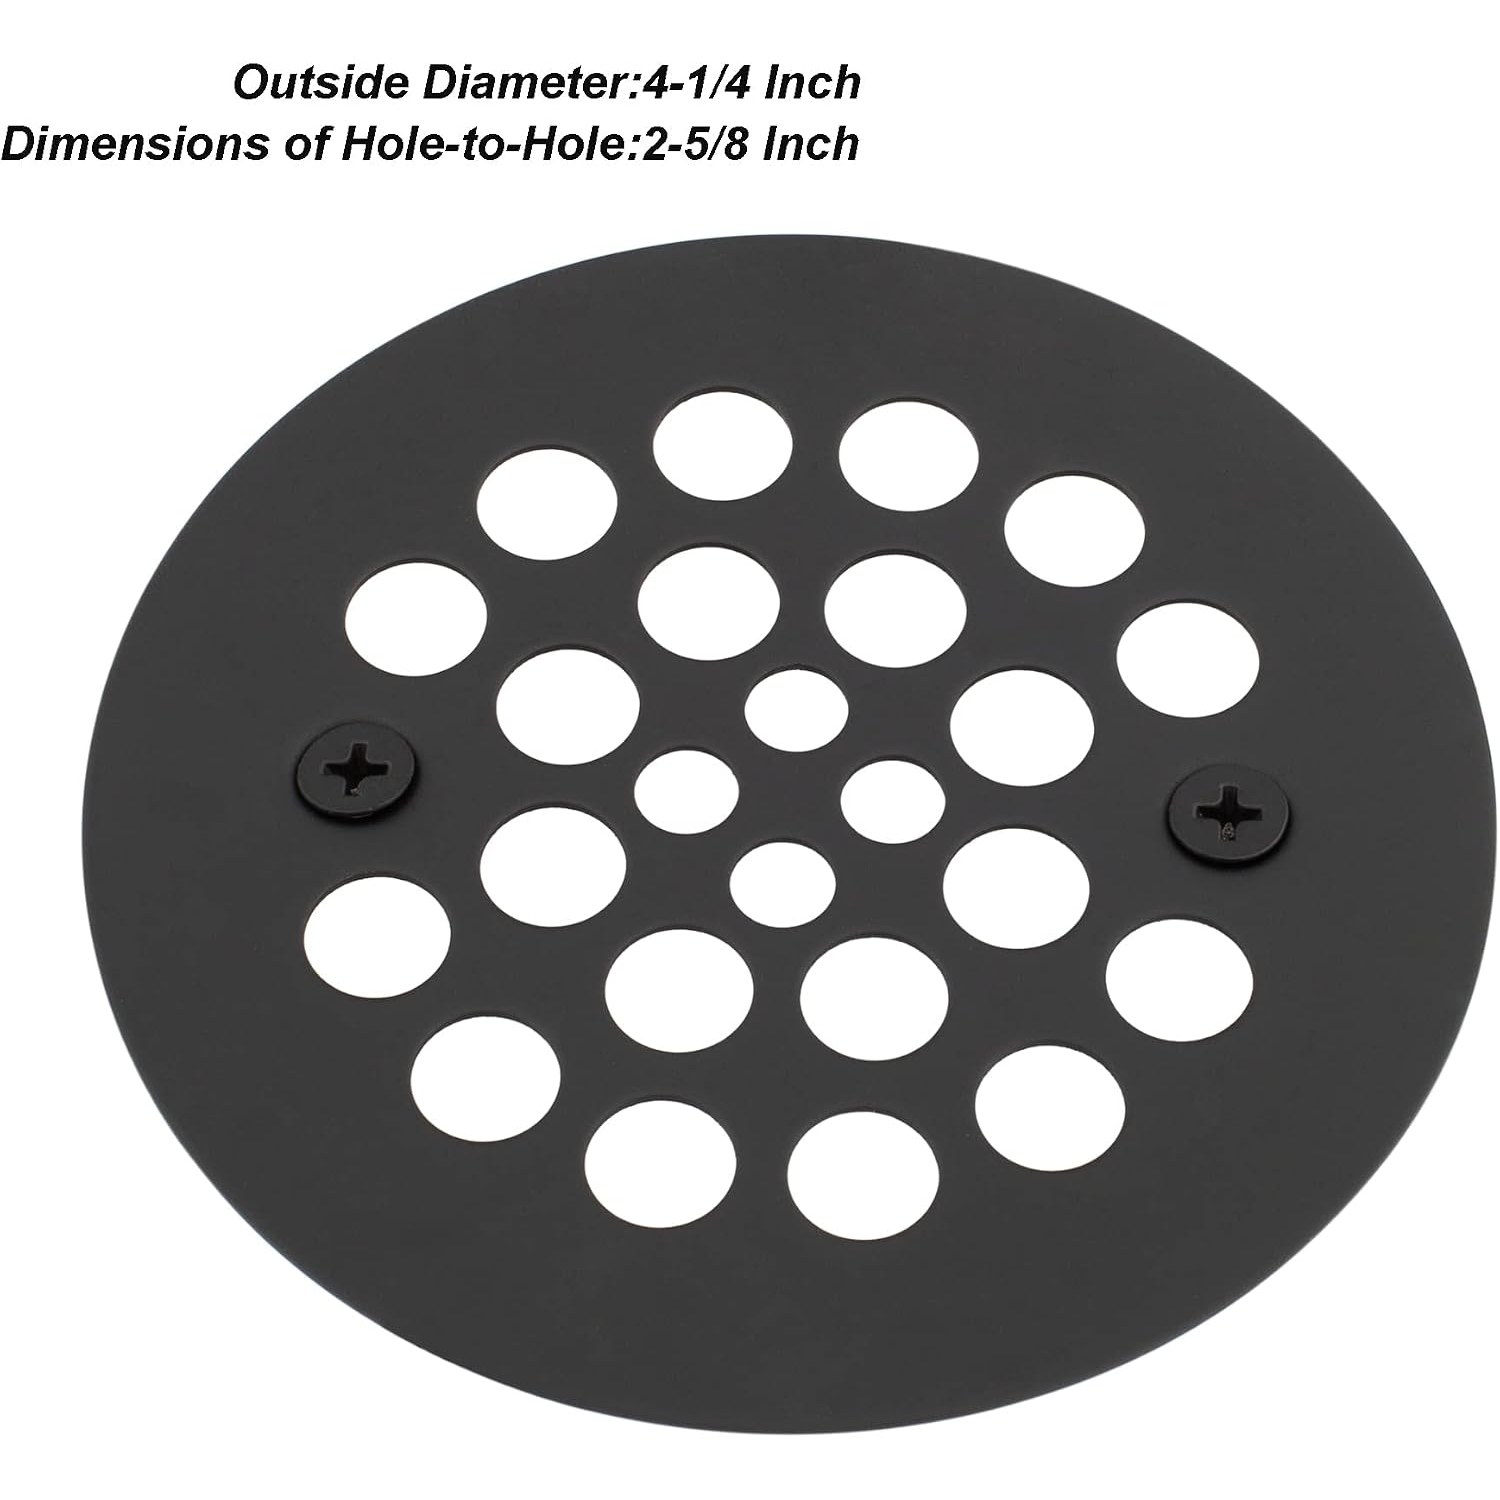
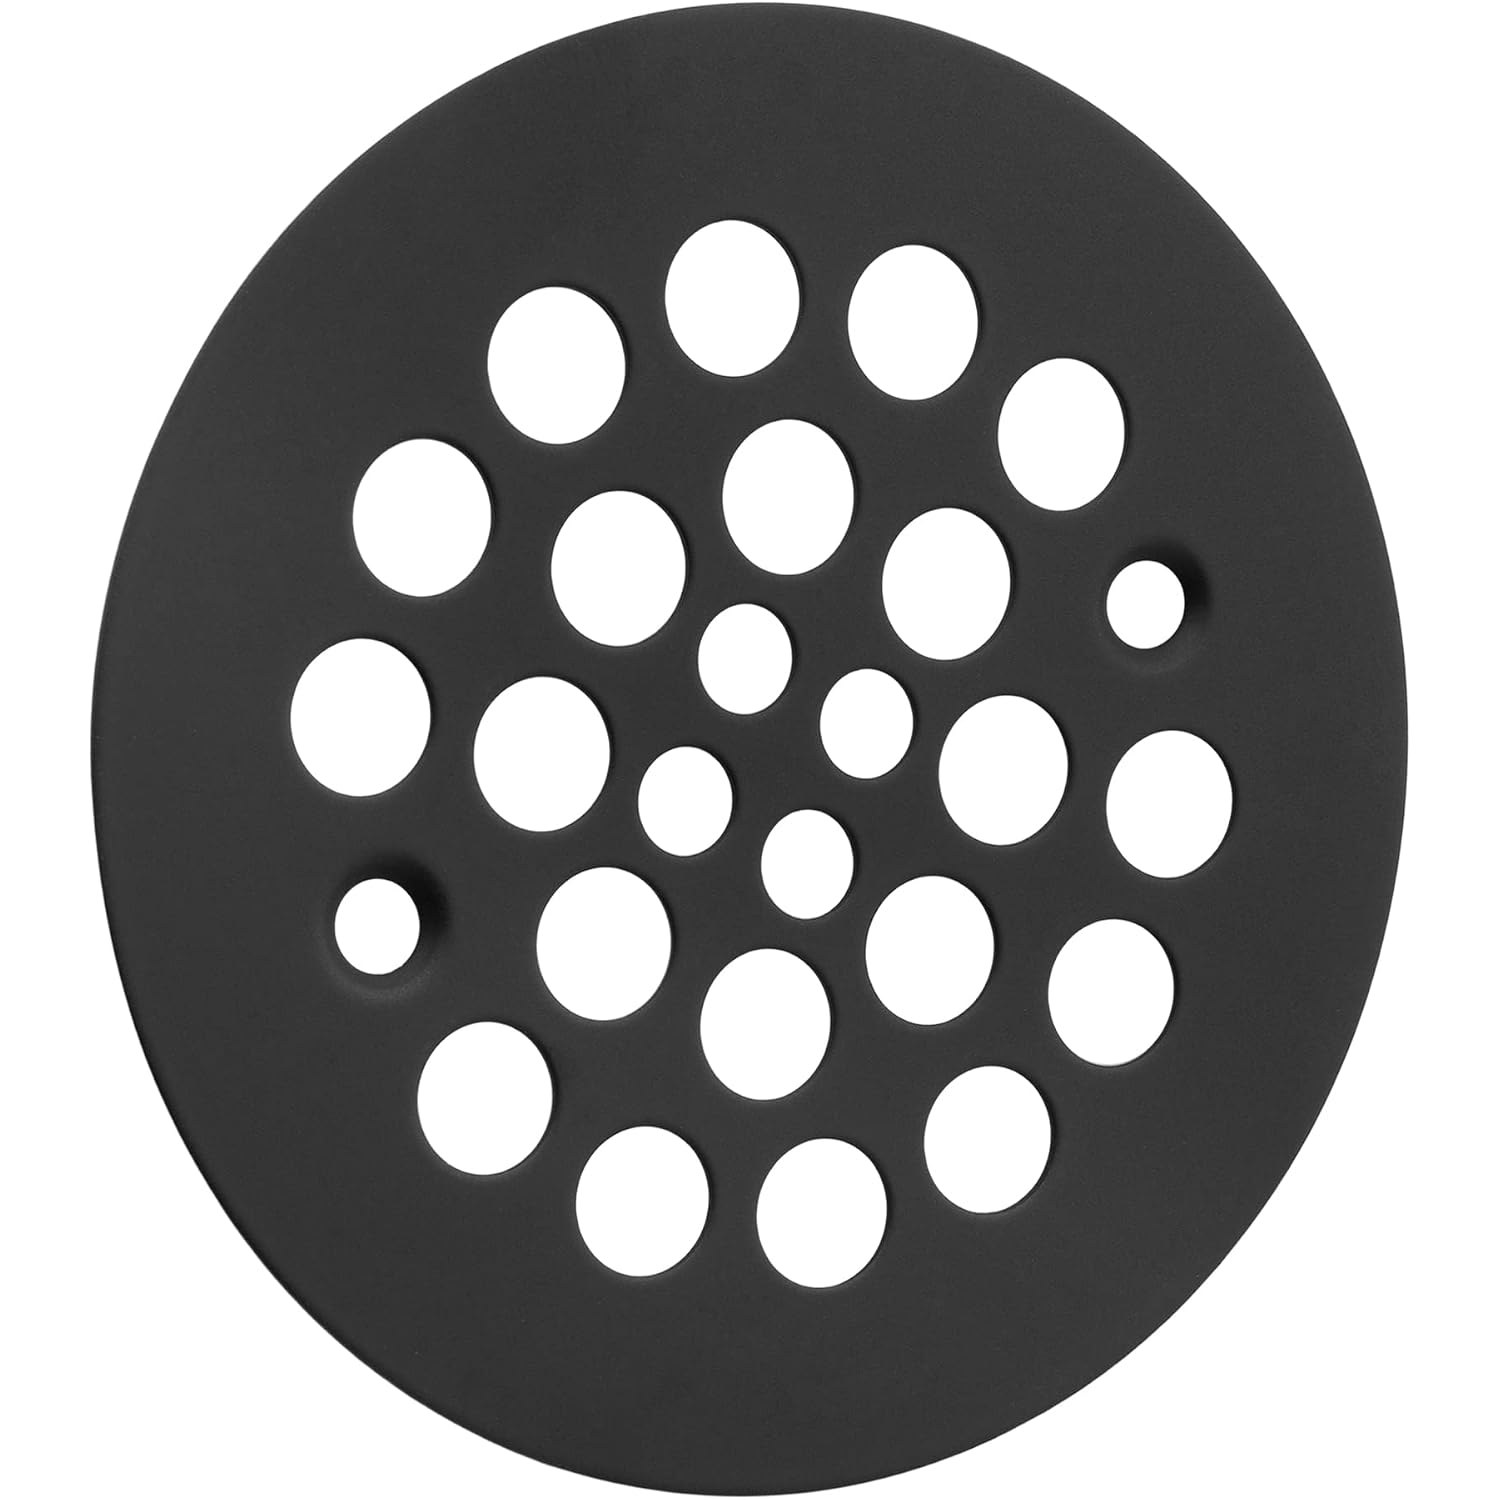
The first is the outside diameter. Pull the old grid out and lay a tape measure across its widest point. This grid is 4.25 inches across, which is a very common size on screw-in shower drains.
The second is the screw hole spacing. Measure from the centre of one screw hole to the centre of the other. On this grid that distance is 2-5/8 inches. If your old cover has the same diameter but different screw spacing, the new grid will sit in the recess but the holes will not line up, and that is a frustrating discovery to make with a screwdriver in your hand.
Write both numbers down before you order. If the old cover is missing entirely, measure the opening in the shower pan and the spacing of the threaded holes in the drain body itself.
A quick note on what this grid is designed for. It suits screw-in plastic shower drain bodies and clay tile pipe drains at that 4.25 inch size. It is not a universal part, and no drain cover is. Match the numbers and it fits. Do not match them and it will not.
Material and finish, and why they matter here
A shower drain lives in standing water. It gets soap, shampoo, conditioner, hard water minerals and whatever cleaning product you use, all on repeat.
Plastic handles that for a while and then stops. UV from a bathroom window, heat from the water and age all make it brittle. The failure point is almost always the screw hole, because that is where the material is thinnest and the stress is highest.
Thinly plated metal fails differently. The plating is fine until it gets a scratch, then water gets underneath and the coating starts lifting in flakes. Once that begins it only gets worse.
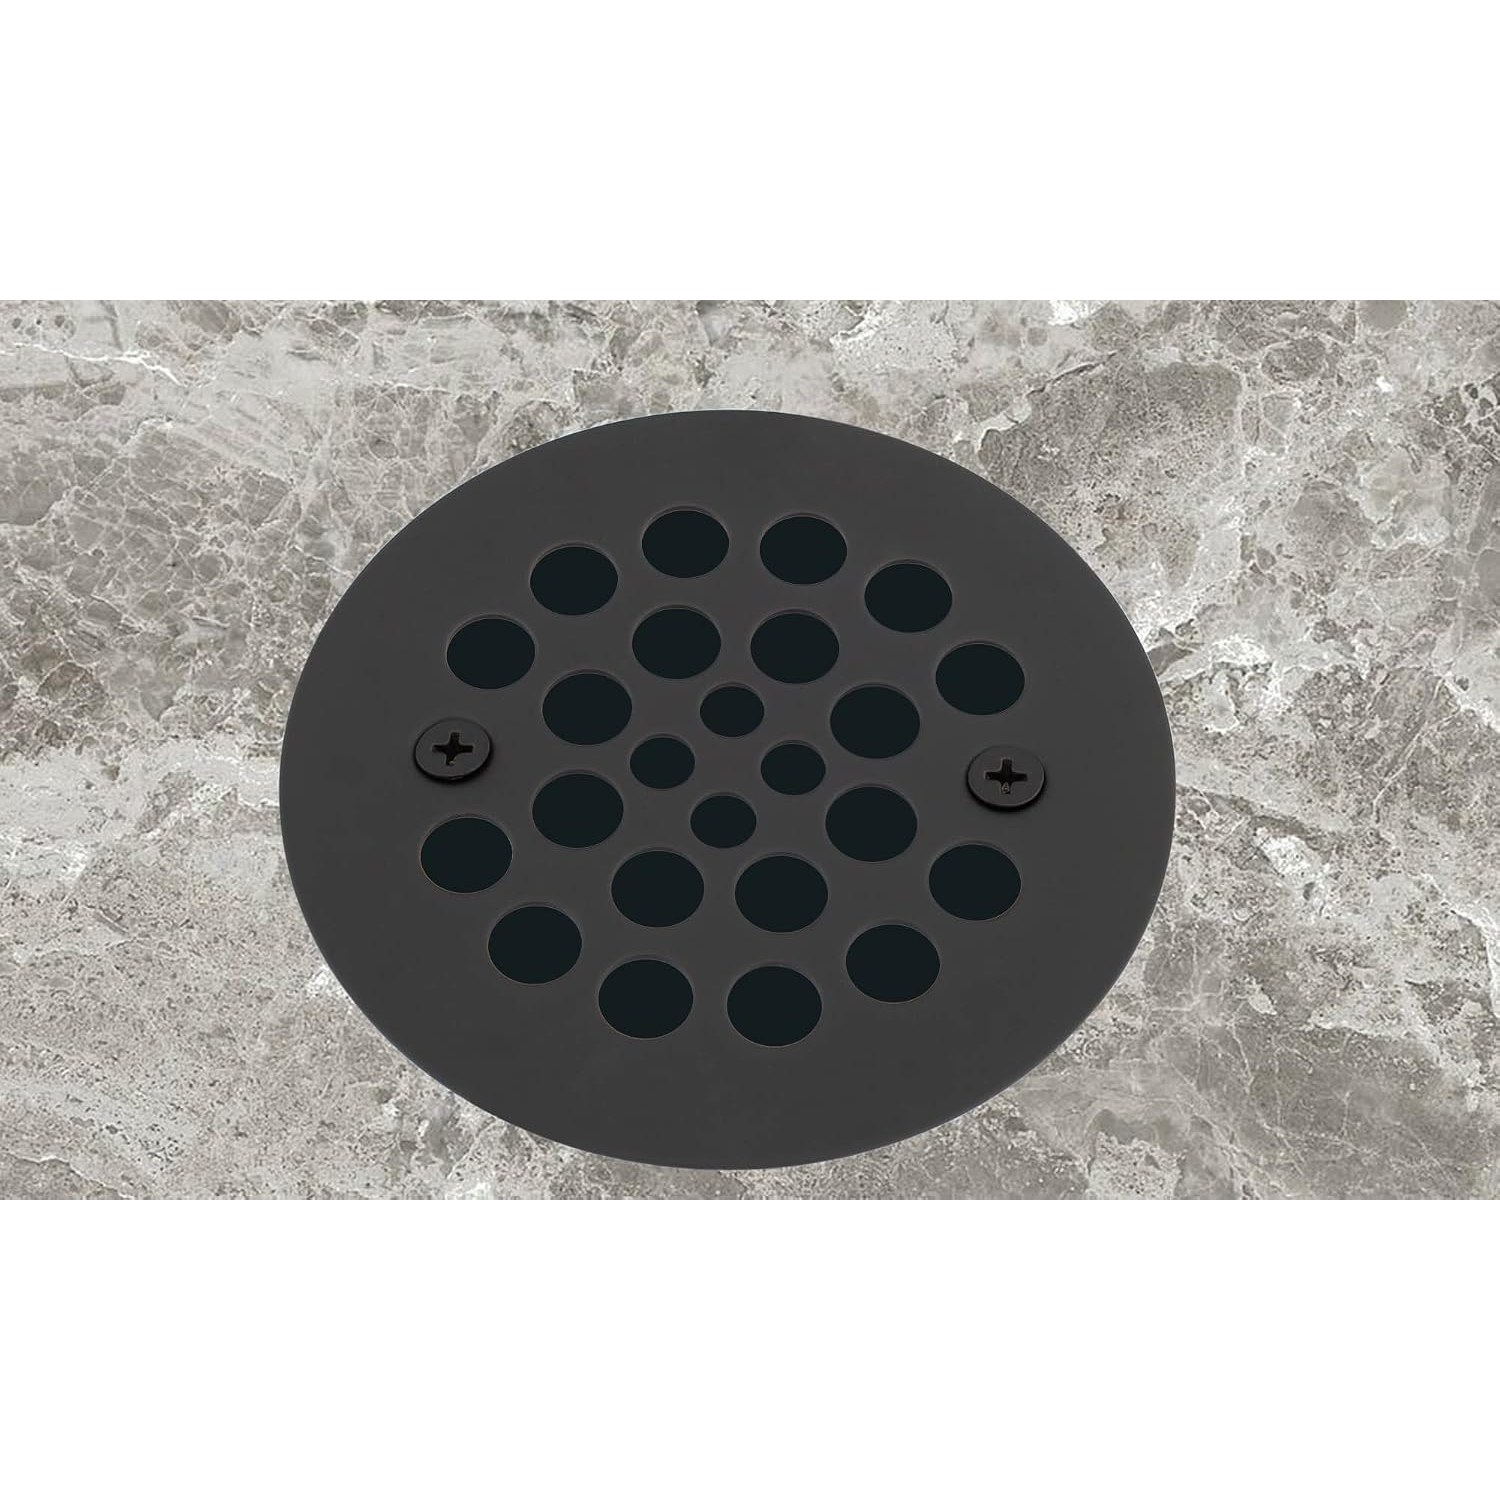
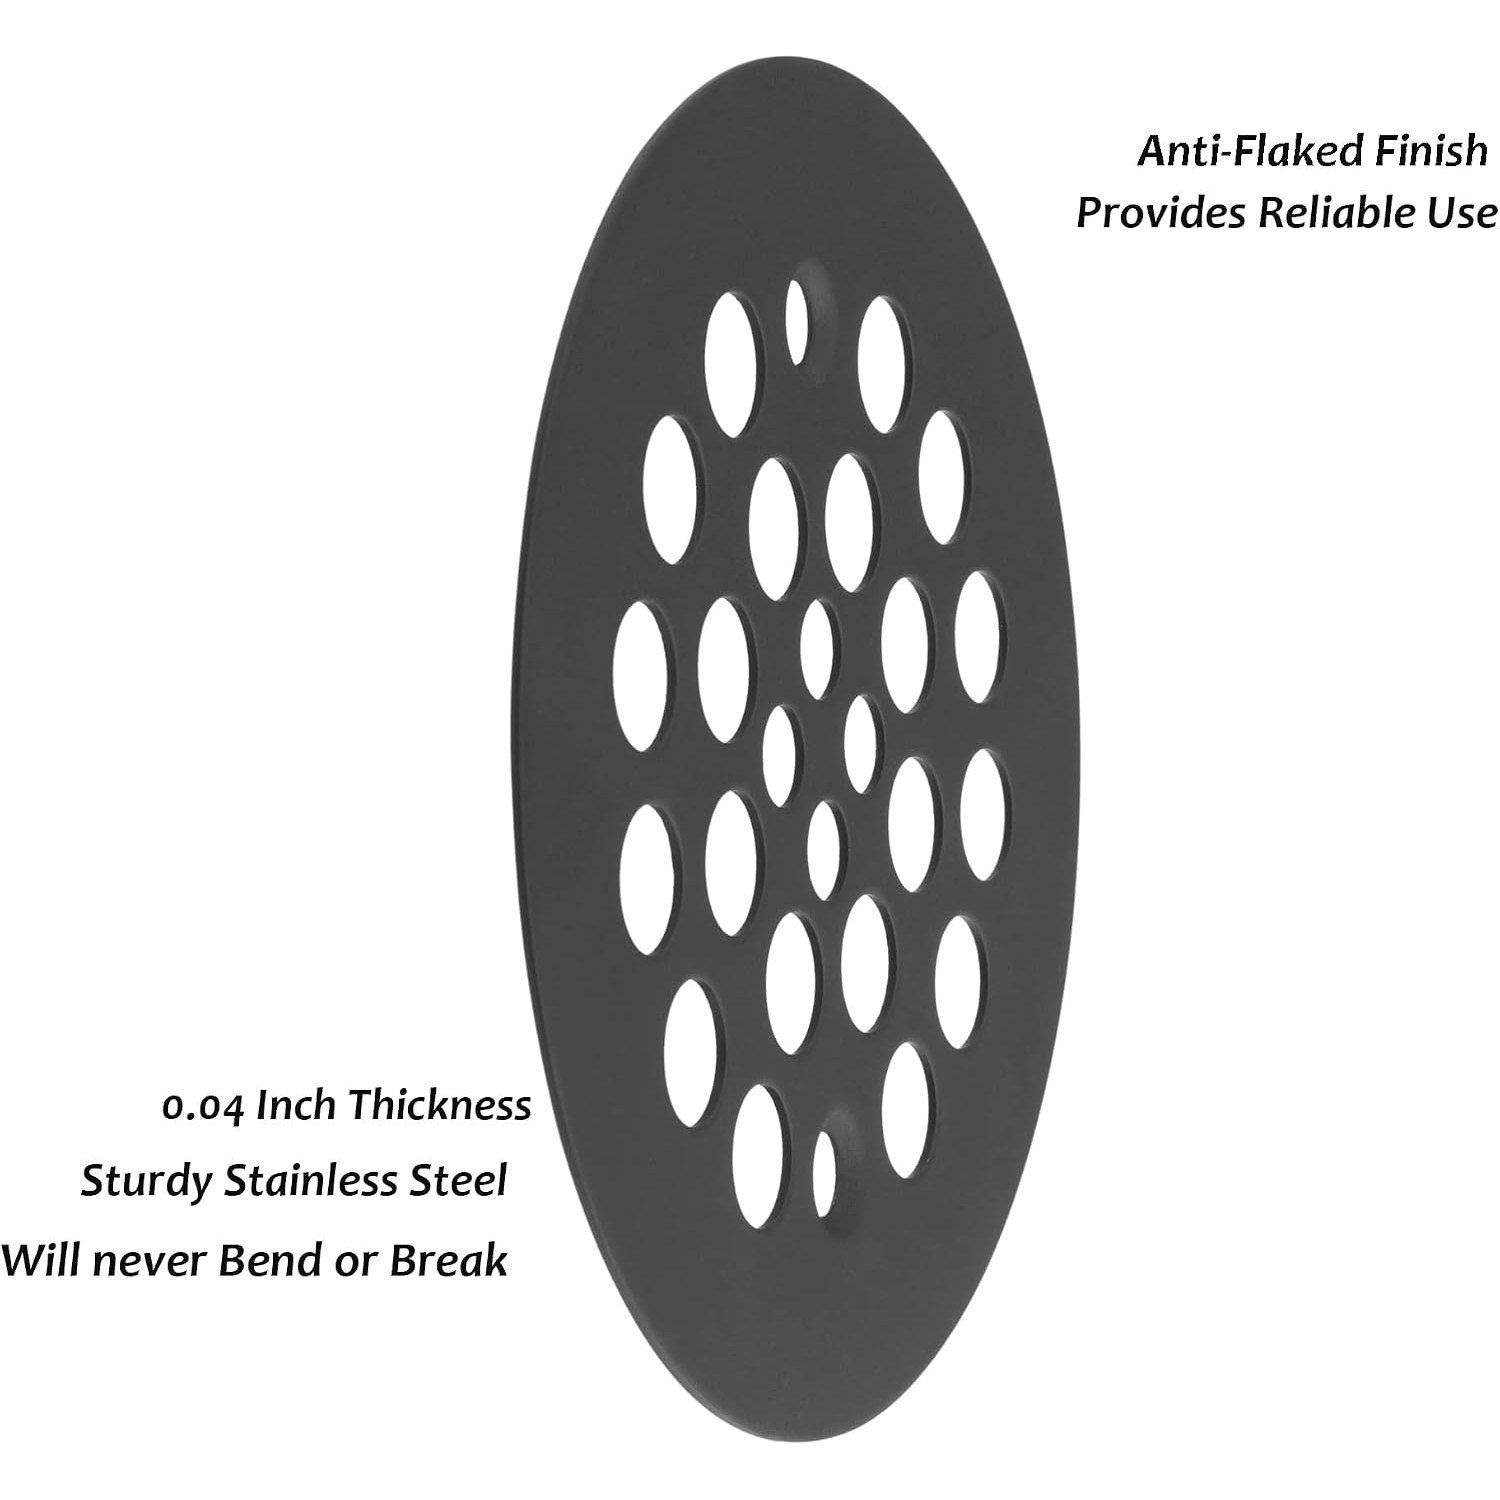
This grid is stainless steel with an anti rust construction and a coating made to hold its colour instead of fading. The finish is matt, which is a practical choice more than a style one. A high shine surface shows every water spot and every fingerprint. A matt surface hides both. In a shower, where everything is permanently splashed, that is the difference between a drain that looks clean and one that looks like it needs cleaning.
The thickness is 0.04 inches. That sounds thin written down, but for a 4.25 inch disc of steel supported around its whole rim it is enough to stop the grid flexing or deforming when you stand on it.
Fitting it
This is genuinely a five minute job. No pipes are touched, nothing is cut, nothing is glued.
Start by removing the old screws. If they are corroded in, a drop of penetrating oil and a few minutes of patience usually beats brute force. A screwdriver that properly fills the slot stops you rounding the head.
Lift the old grid out. Now clean the recess properly, because there is almost always a ring of grey gunk under there made of soap and hair. Old toothbrush, hot water, done. Fitting a clean new grid over a dirty recess means the smell stays.
Drop the new grid in and check it sits flat with the holes lined up. Then pick your screws.
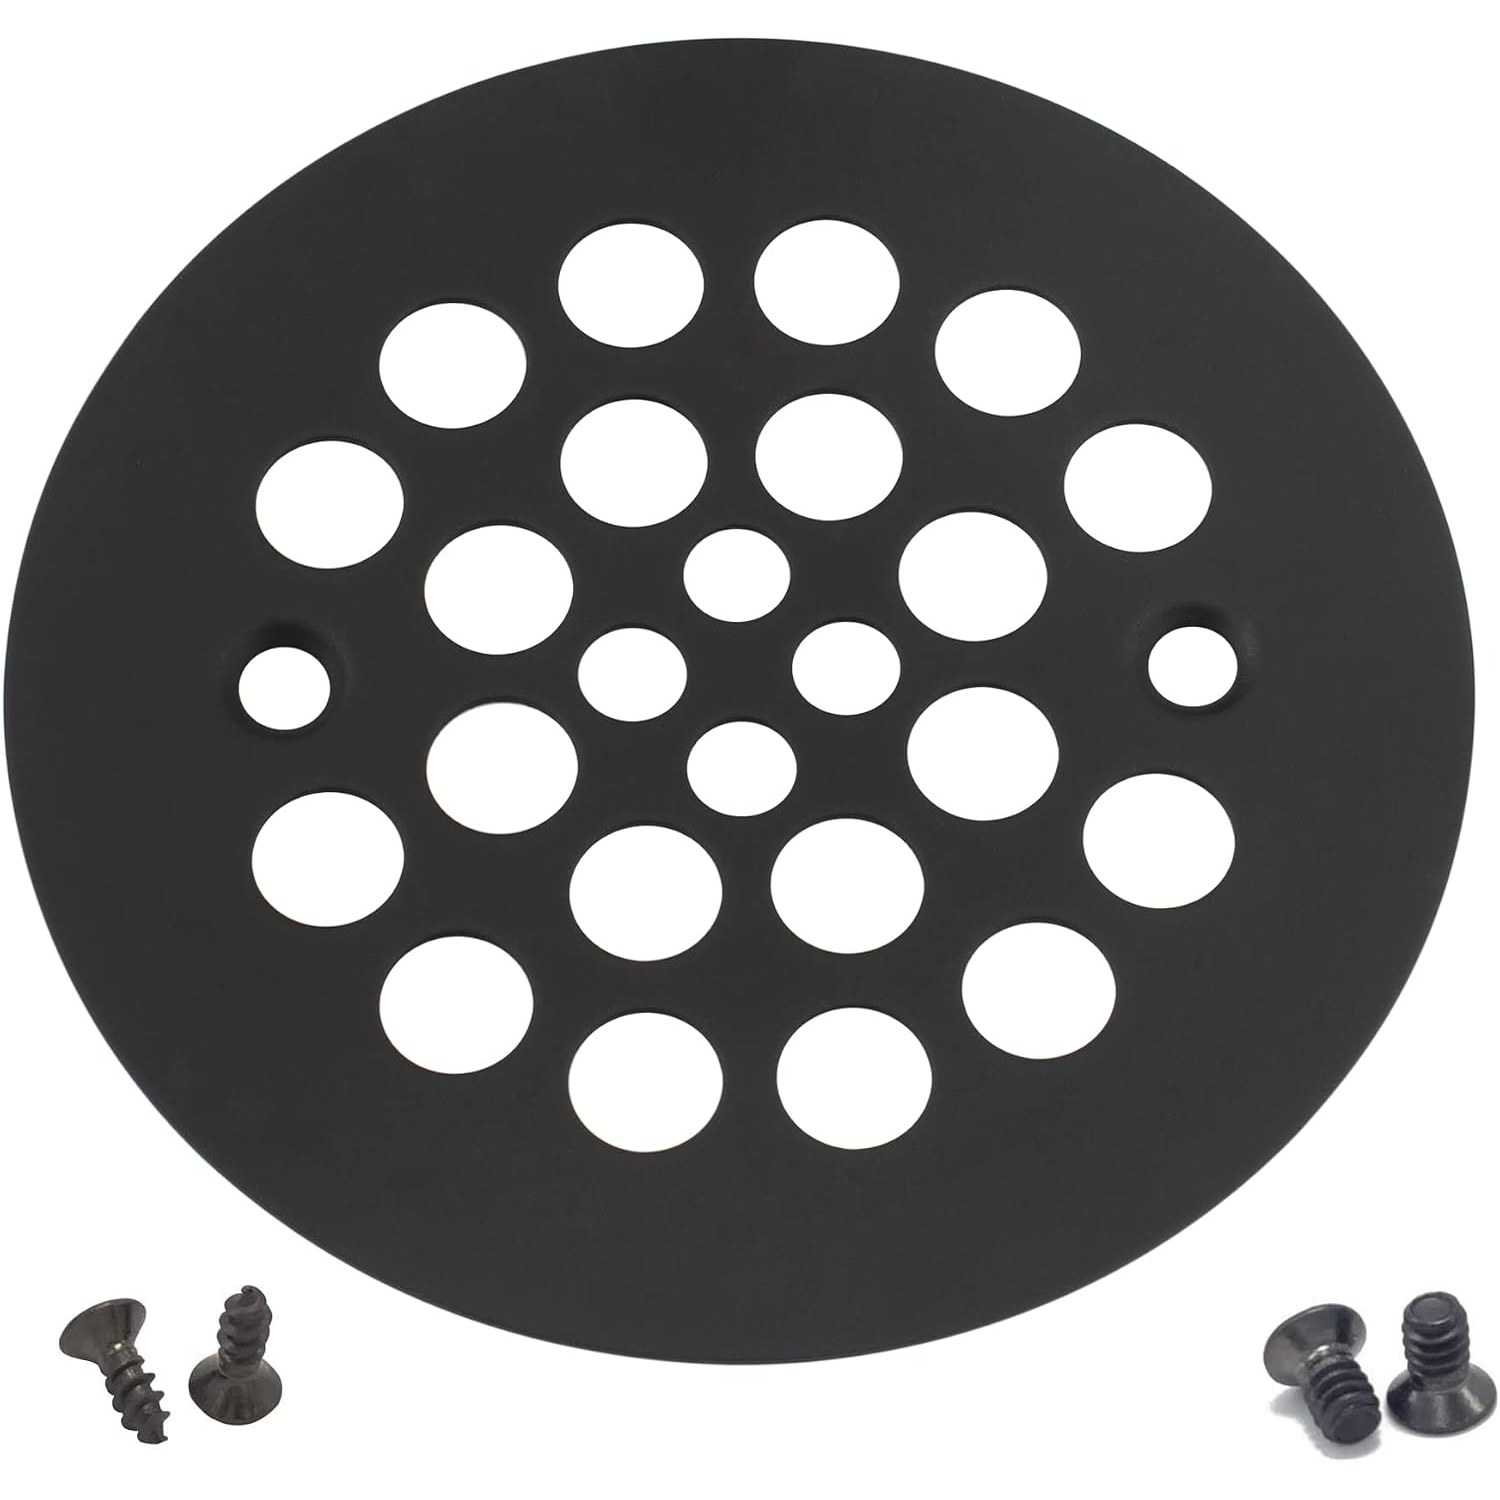
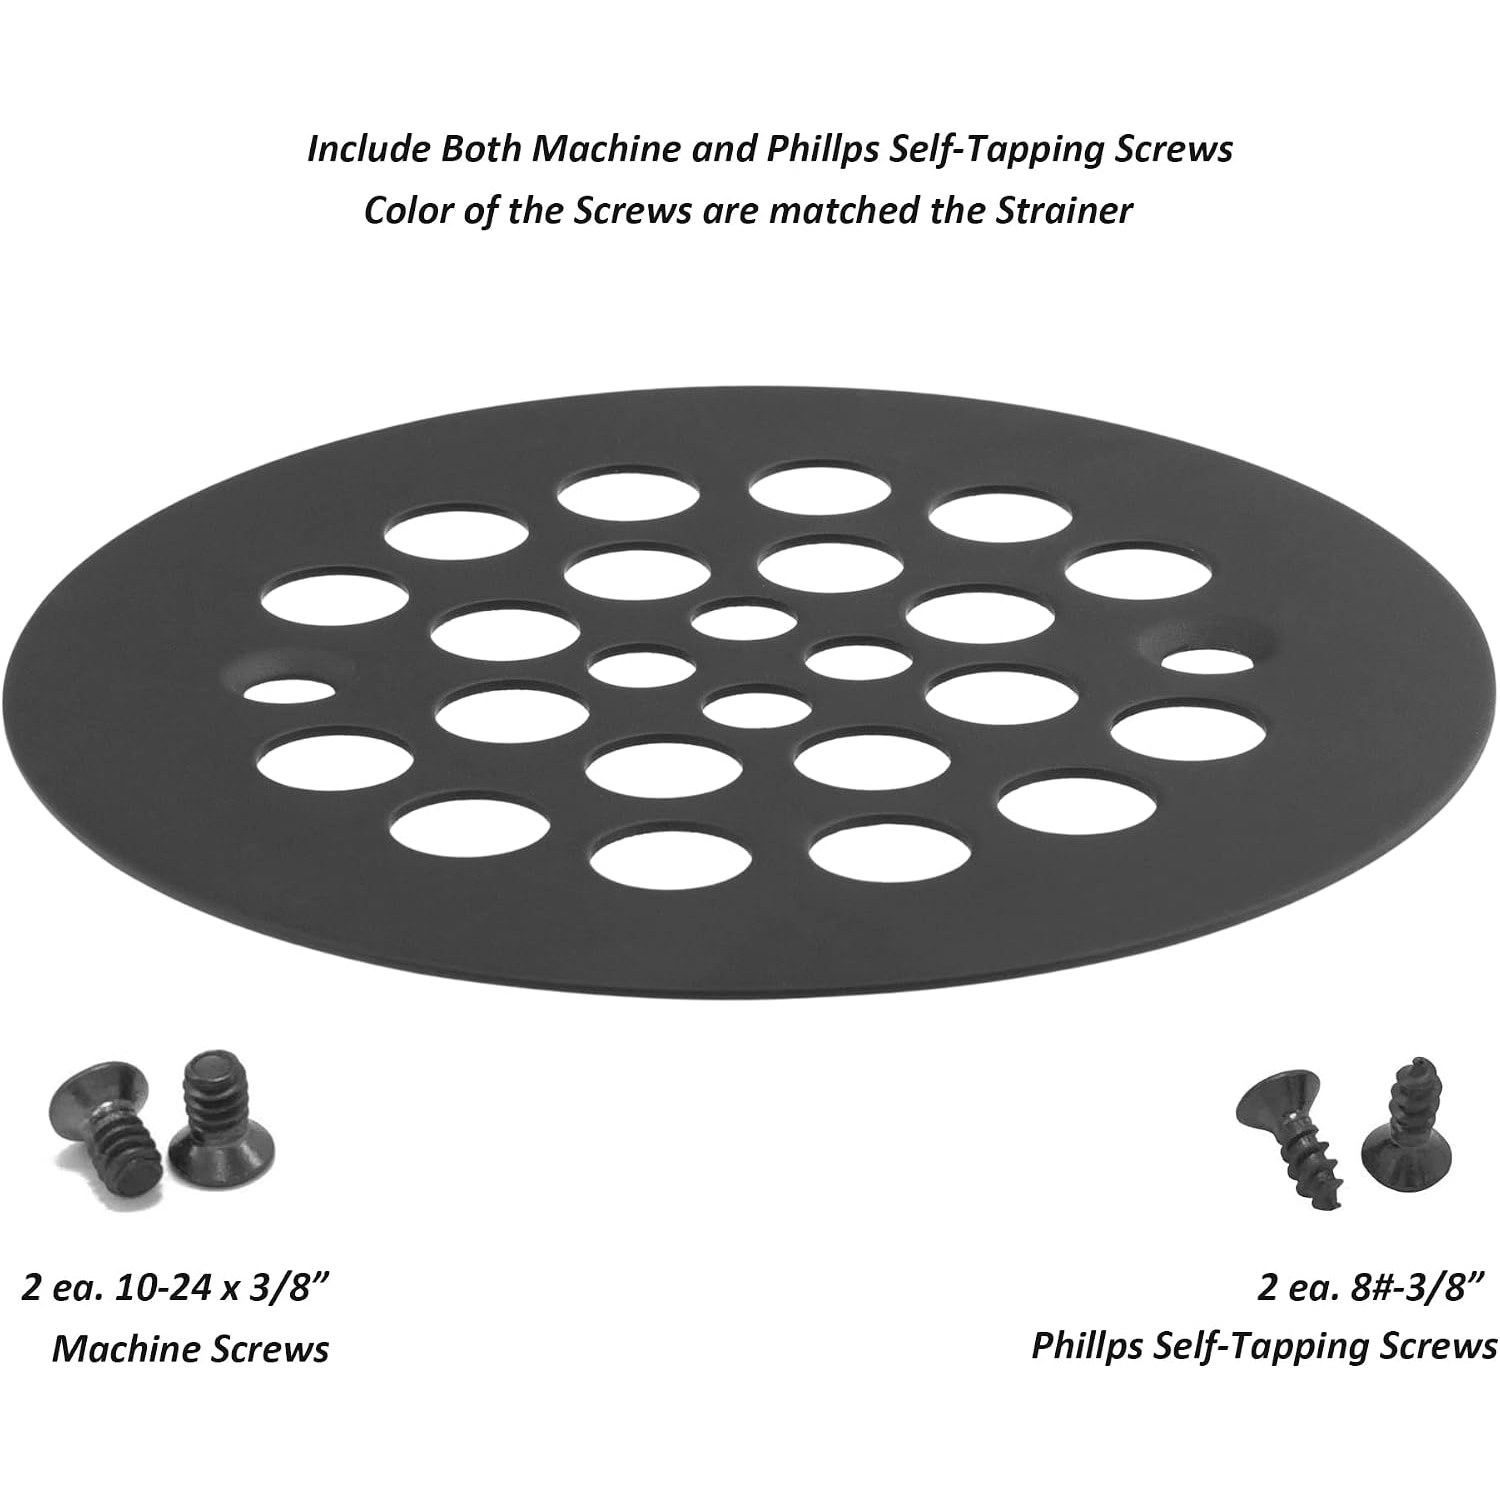
The two 10-24 x 3/8 inch machine screws go into drain bodies with sound threaded inserts. That is the usual case on a drain that is in good shape.
The two 8# 3/8 inch flat head self-tapping screws are the backup, and they are more useful than they look. If the original threads are stripped from years of overtightening, or if the drain body just has plain plastic holes, these cut their own thread. Drive them slowly and keep them straight.
Either way, stop tightening as soon as the grid is snug. Cranking down hard is how you crack a plastic drain body or chip the finish on a screw head. Hand tight with a screwdriver is correct.
Keeping it clear
The habit that matters is simple. Every week or two, back the screws out, lift the grid, pull the hair clump off and rinse everything under warm water. A little mild dish soap handles the soap film. Dry the grid, put it back, snug the screws.
It takes under a minute once you have done it twice, and it is the single best thing you can do for a shower drain.
A few things to avoid. Steel wool and scouring powder will scratch a matt finish and give water somewhere to sit. Strong chemicals left sitting on the metal are not a good idea either. And we do not recommend chemical drain cleaners at all, for the grid or the pipe.
If the water is already draining slowly before you fit the new grid, understand that a grid will not fix that. The blockage is further along and needs clearing first. A grid prevents the next one. Anything involving the fixed pipework itself is work for a licensed plumber.
Who this suits
It suits anyone with a 4.25 inch screw-in shower drain and a cover that has cracked, discoloured, gone missing or just looks tired. That is a lot of showers, because the pattern is a long-standing one.
It also suits people renting or renovating on a budget, because you are replacing the visible part without disturbing the drain body. That is a reversible, low-risk change that makes an old shower floor look considerably better for very little money and no trade work.
It does not suit you if your measurements do not match, or if your drain uses a clamp-ring or push-in cover rather than screws. Measure first and you will know within a minute which camp you are in.
The short version
Measure two things. The outside diameter of your old grid, which needs to be 4.25 inches, and the distance between the screw hole centres, which needs to be 2-5/8 inches.
If both match, this screw in shower strainer trim set drops straight in with the screws supplied. You get a stainless steel grid with an anti rust build and a matt finish instead of cracked plastic or flaking plating, and you get hair caught at the surface where it belongs rather than heading down the pipe.
Clean it every week or two. Do not overtighten the screws. Leave anything involving actual pipework to a licensed plumber. That is the whole story.