
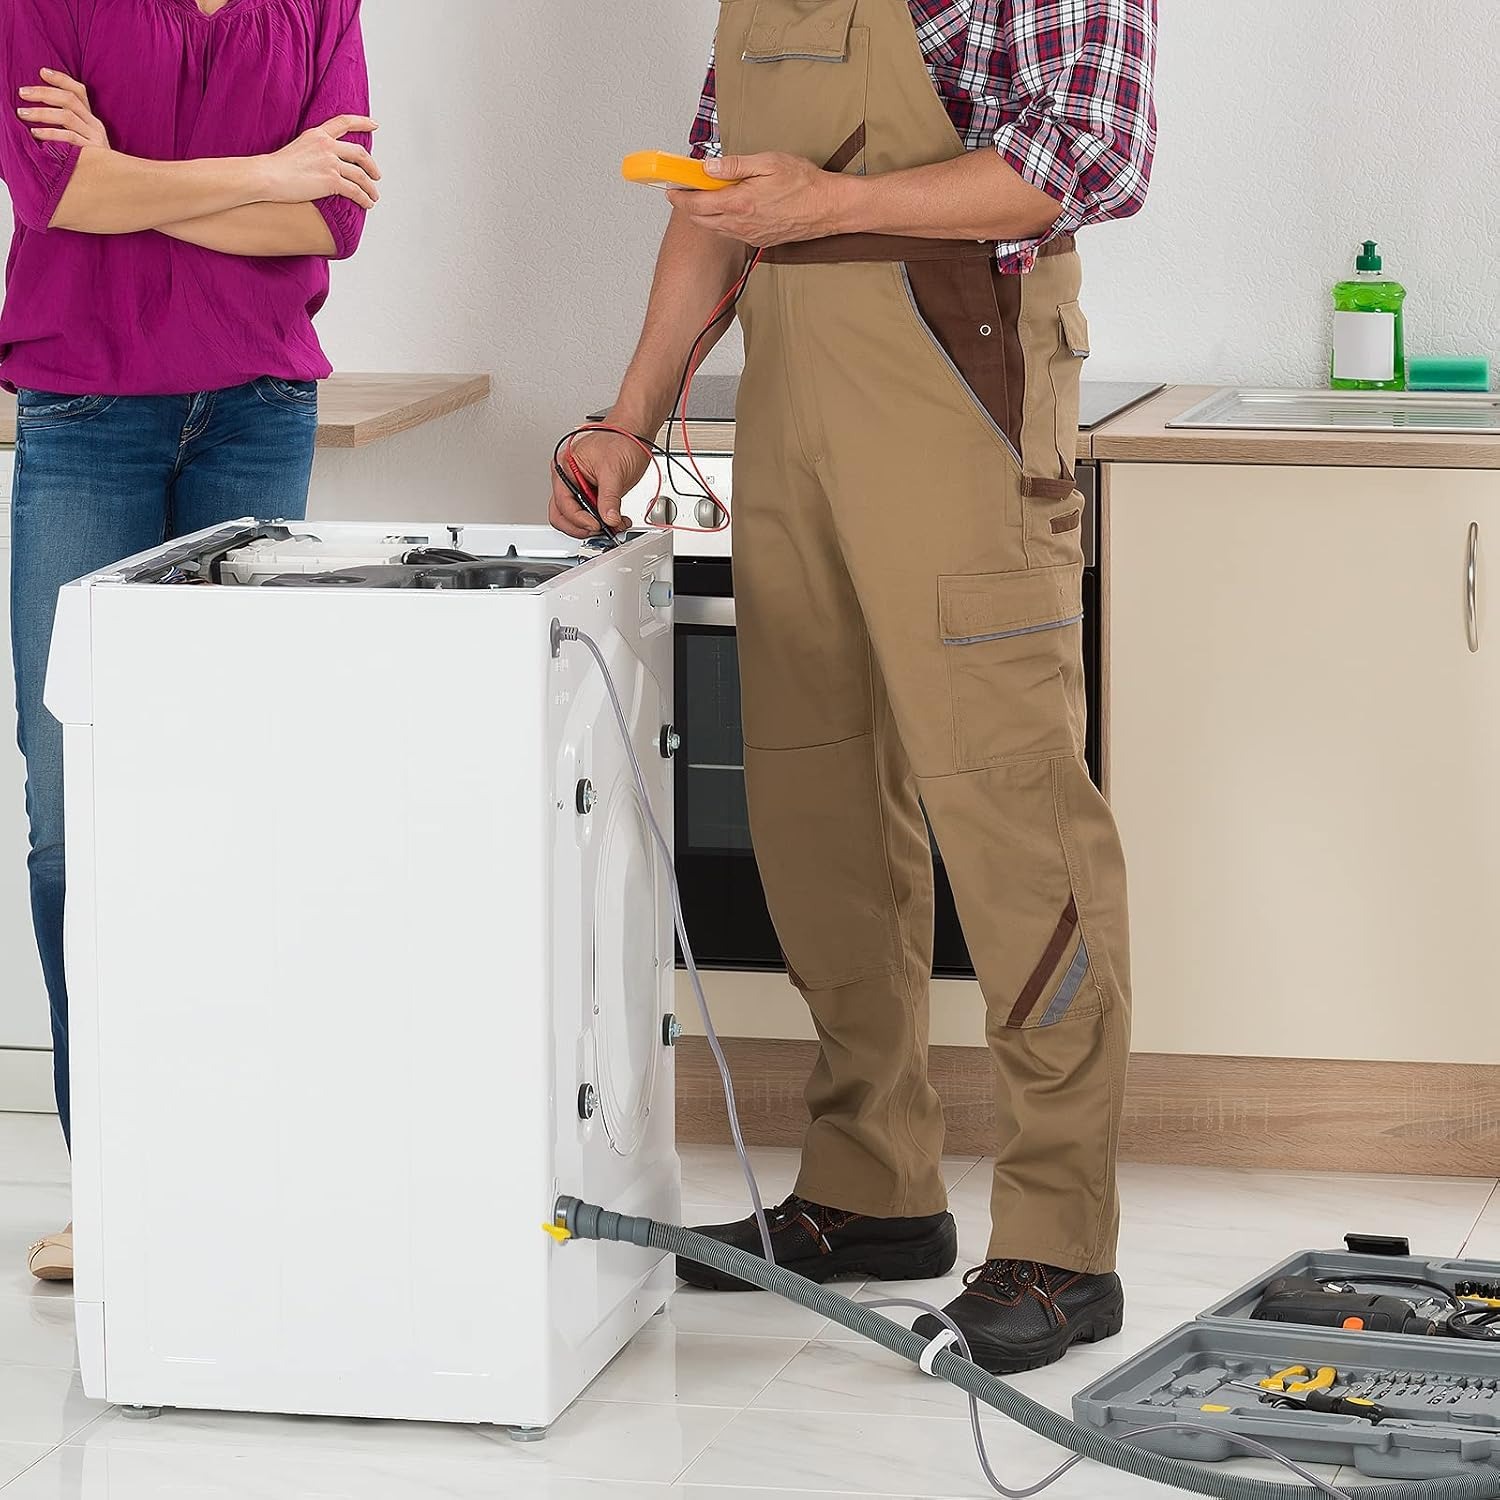
The complete guide
Washer Drain Hose Extension Buyer's Guide, How To Choose And Fit One
The problem with the hose your washer came with
Washing machines ship with a drain hose sized for a best case laundry room. The standpipe sits a foot away, the machine slides straight back against the wall, and everything reaches. Real laundry rooms are rarely that tidy.
Maybe you moved the washer to the other side of a closet. Maybe you are draining into a laundry sink instead of a standpipe. Maybe the machine is new, the old one sat slightly differently, and the hose now stops six inches short of where it needs to be. Or the original hose has a permanent kink in it from years of being squashed against the wall, and the drain cycle takes twice as long as it used to.
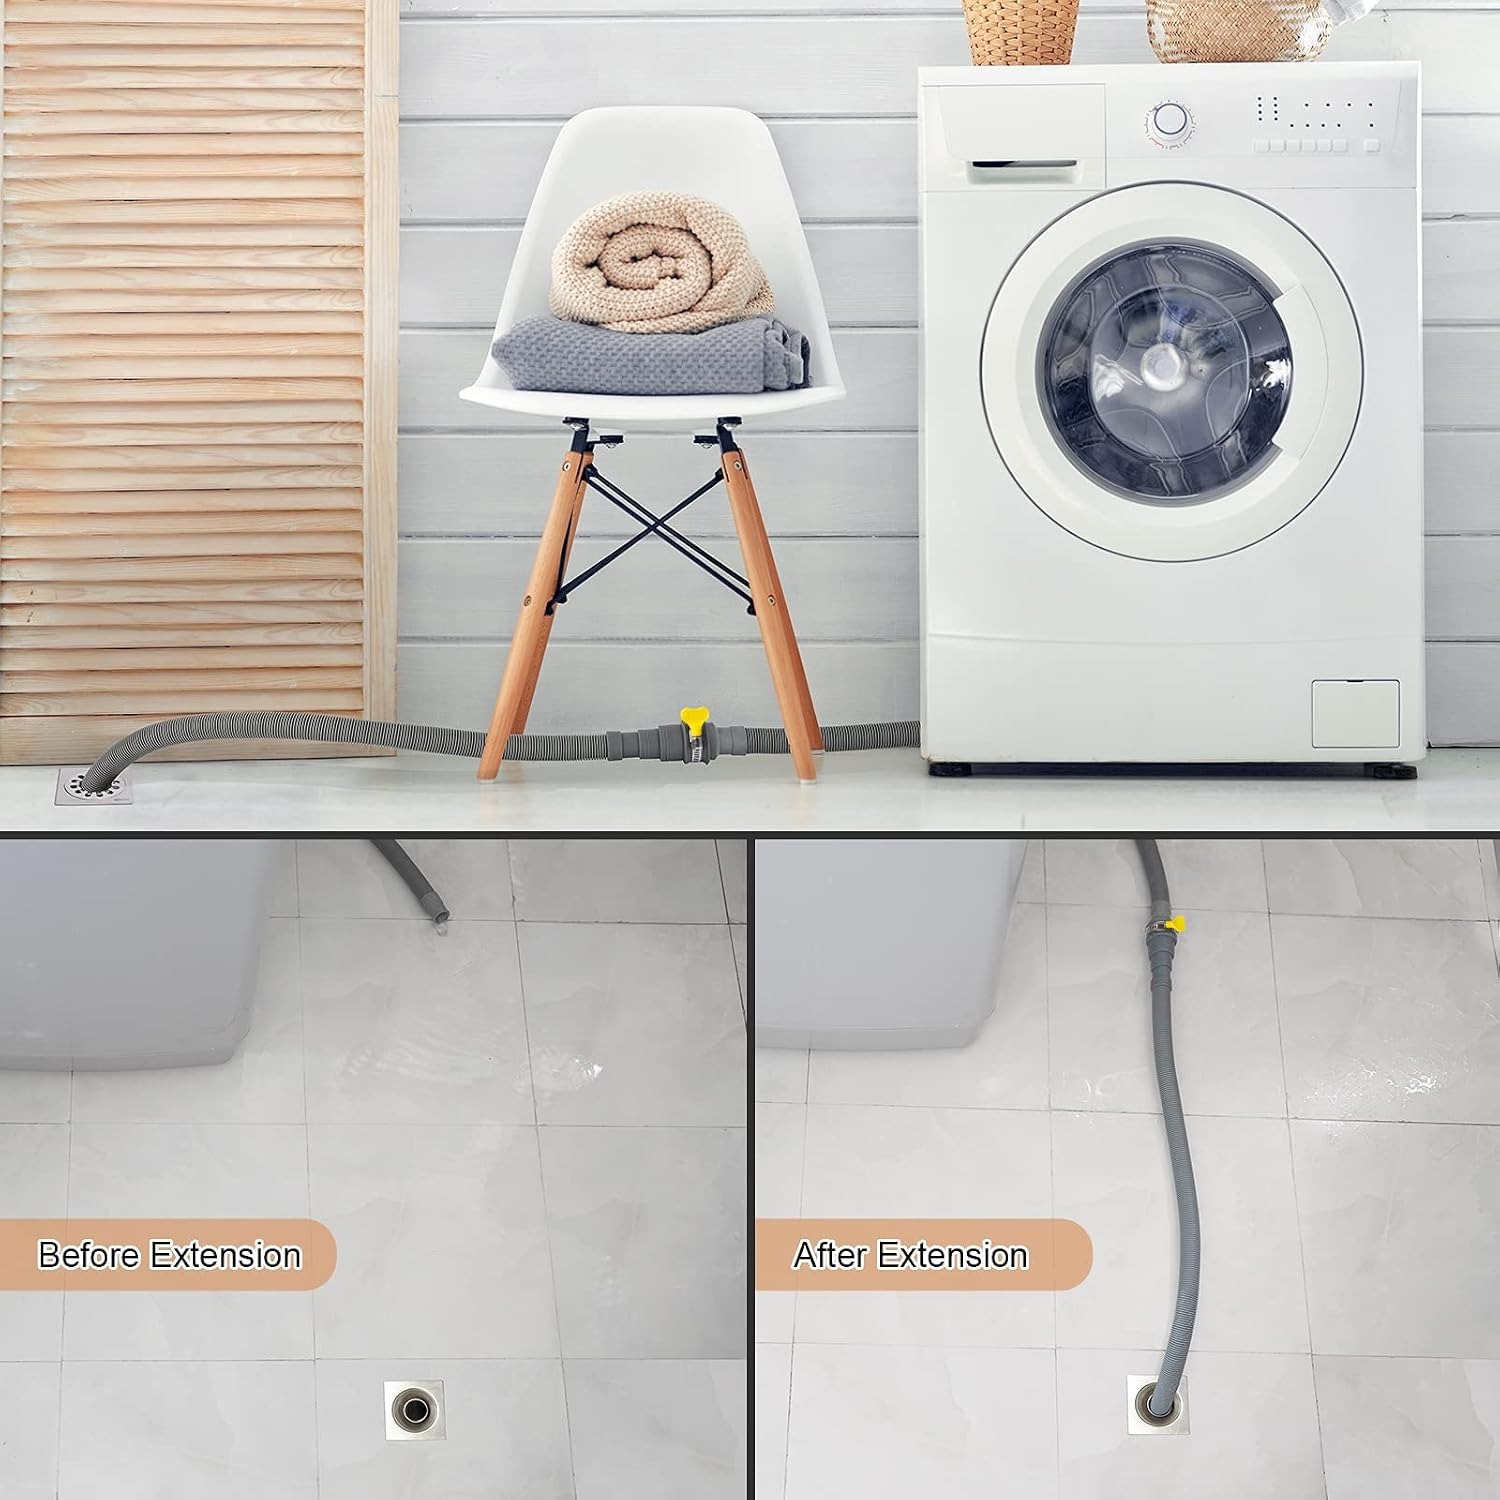
Whatever the reason, you end up with a washer that cannot sit where you want it. Pulling the machine forward to make the hose reach leaves you with a gap you trip over and a cabinet door that no longer closes. That is the gap this kit fills.
What this kit actually is
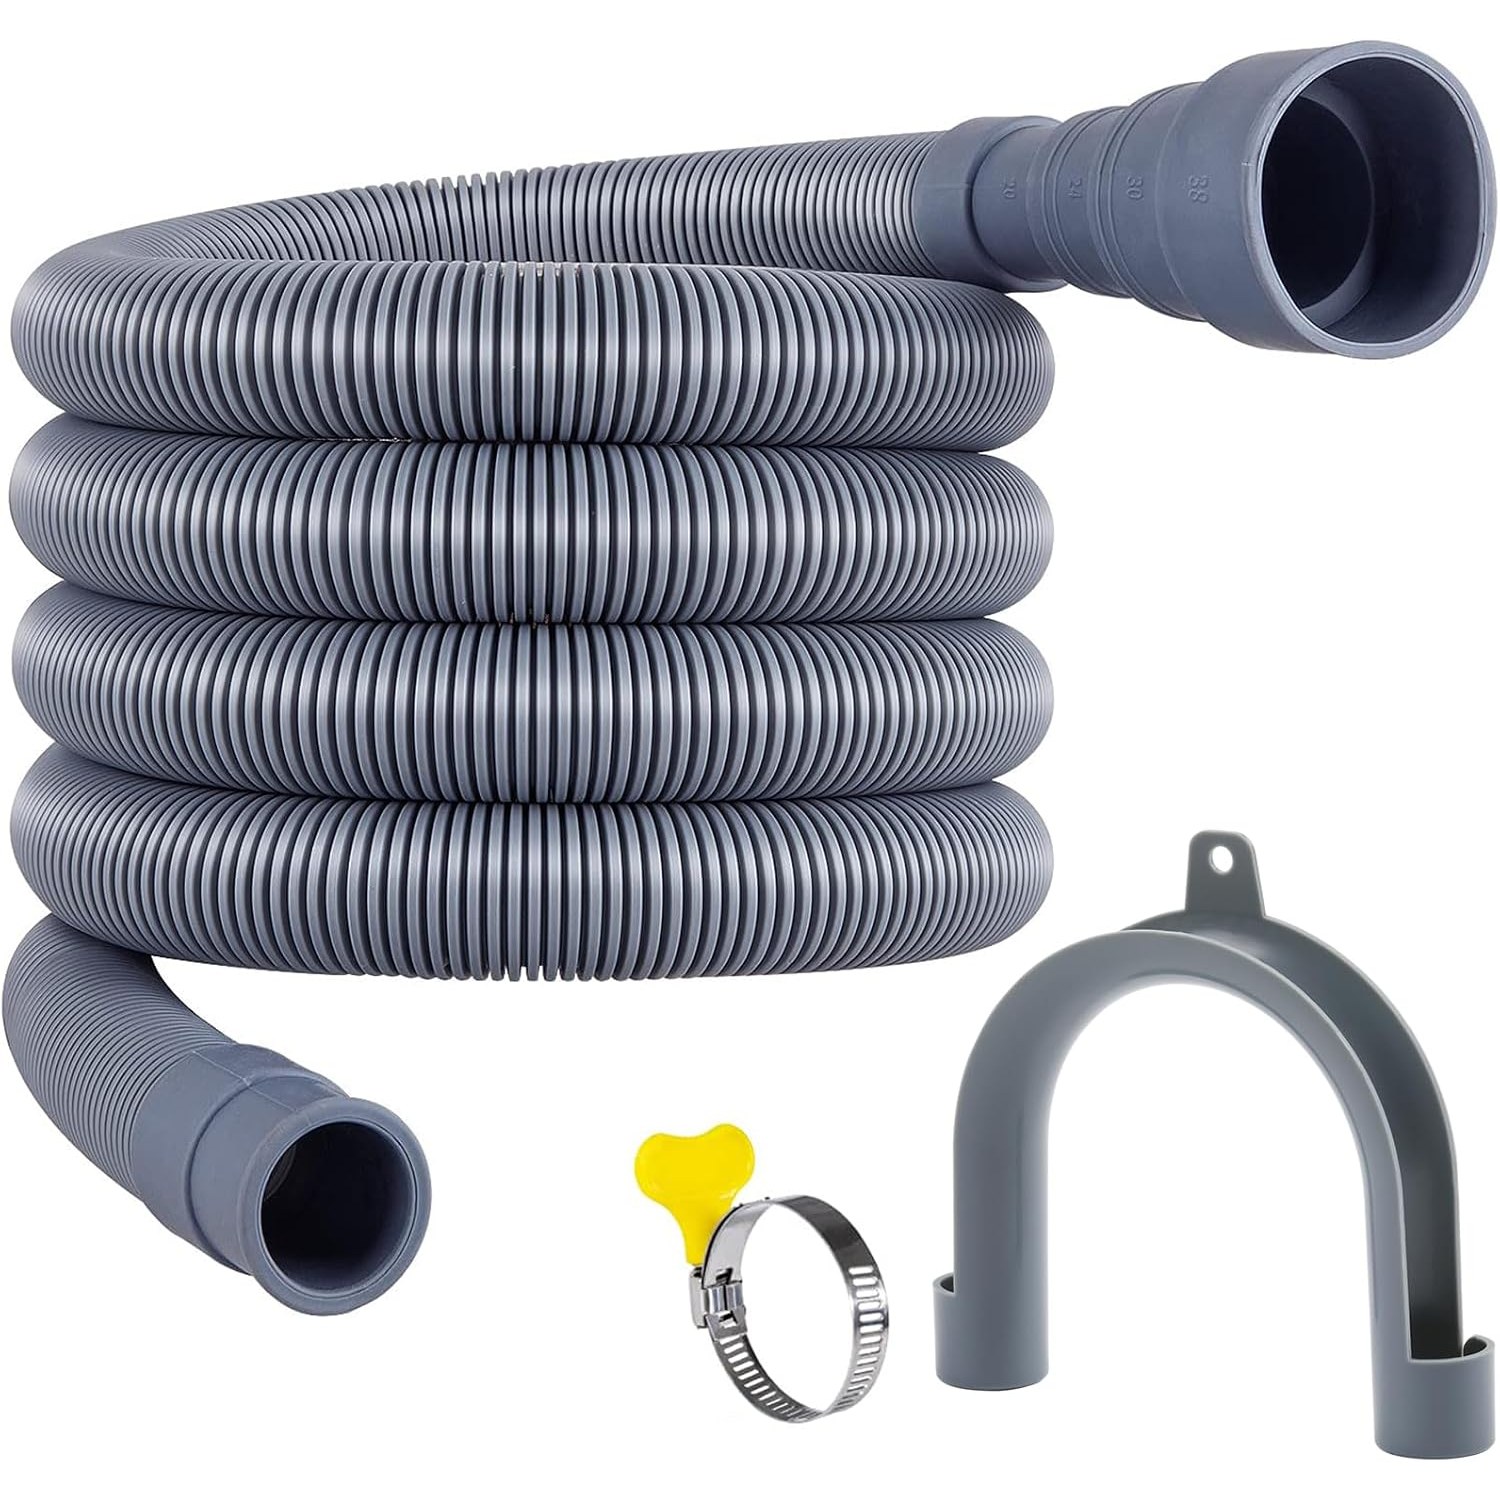
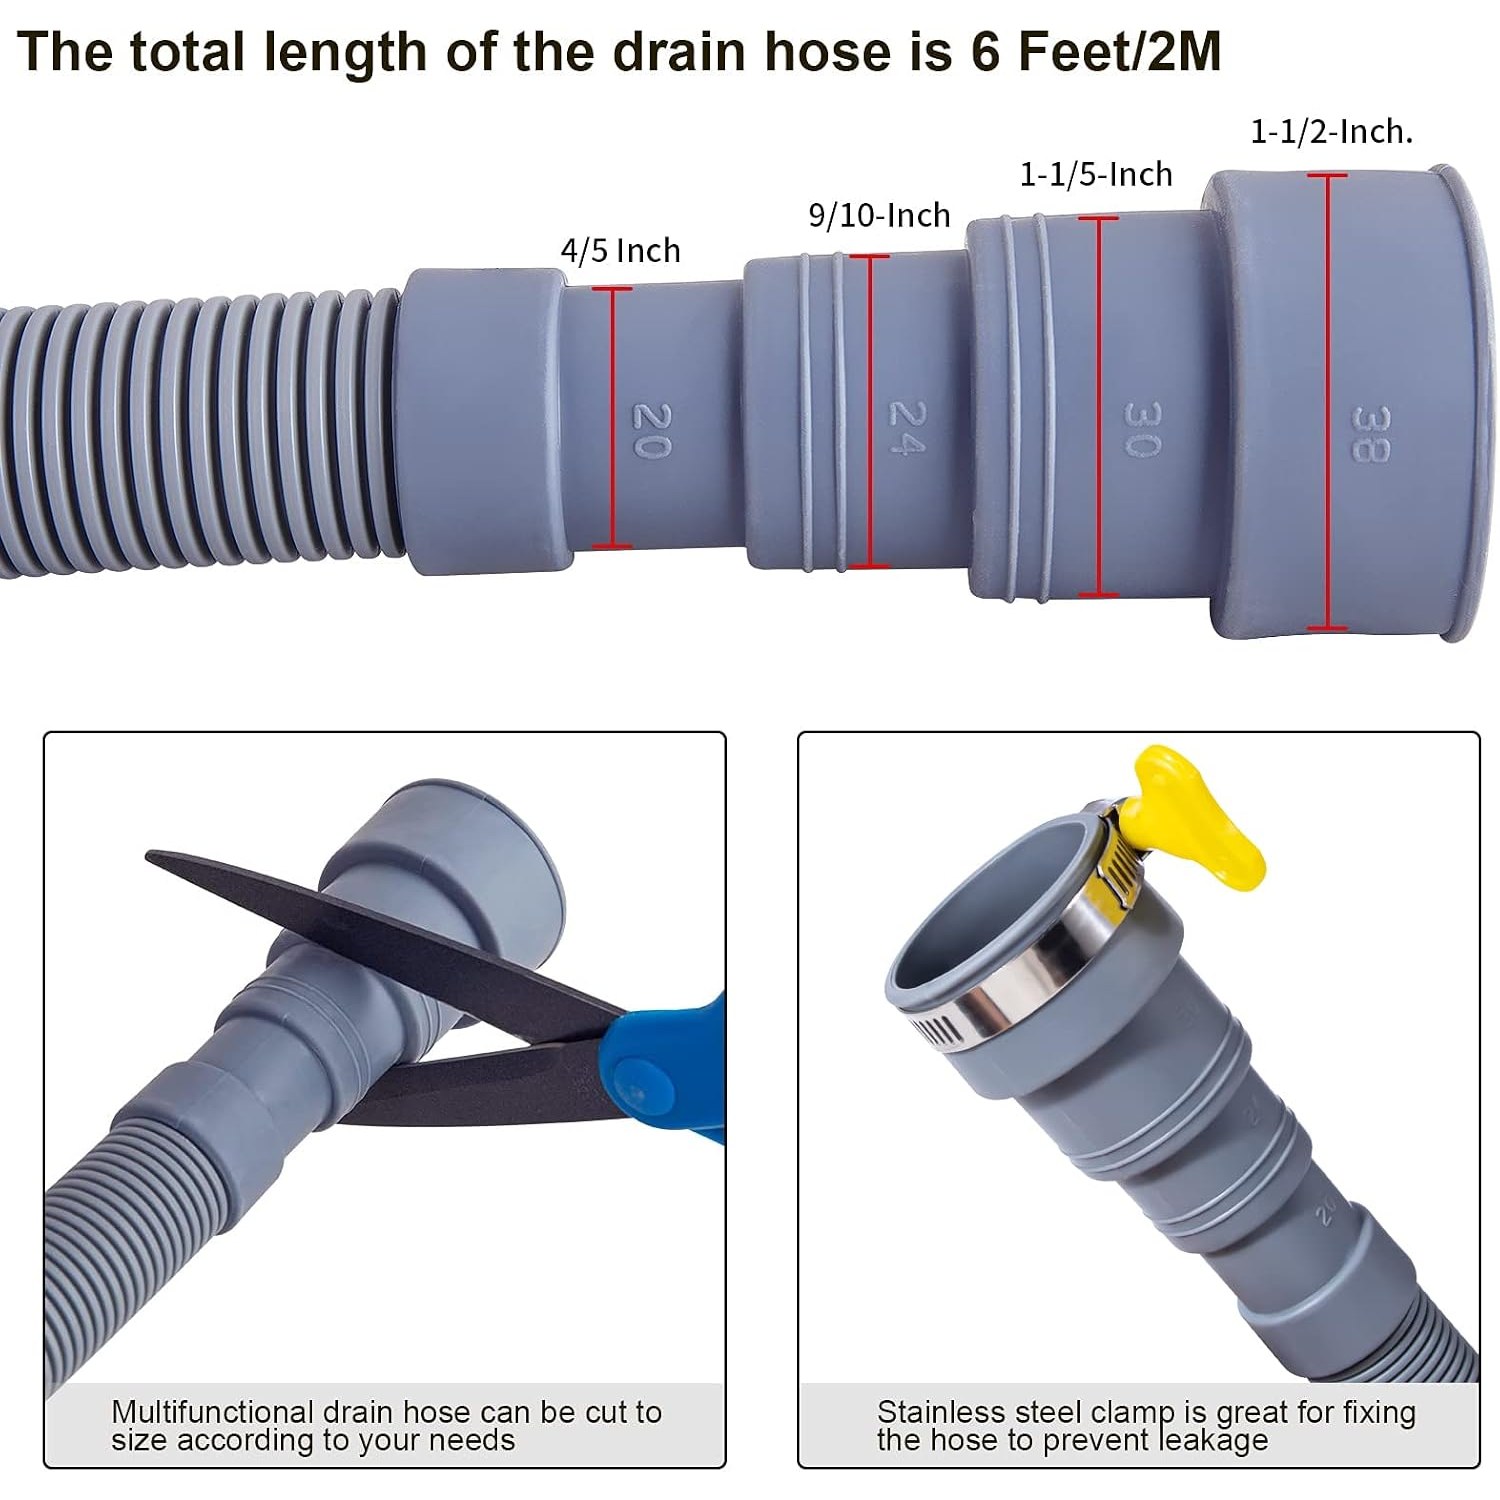
Two parts. A flexible plastic drain hose, listed at 182.9 cm by 2 cm, which is roughly six feet, and one 18/8 stainless steel hose clamp. The hose body has an outside diameter of 0.8 inches, and the outlet end is formed in steps so it suits several outlet sizes: 4/5 inch, 9/10 inch, 1-1/5 inch and 1-1/2 inch.
One note on measurements. The maker quotes the product dimensions as 182.9 cm but lists item length separately as 2 feet. If the exact run length is critical to your install, measure your space and plan around the shorter figure, then contact us before ordering if you need certainty.
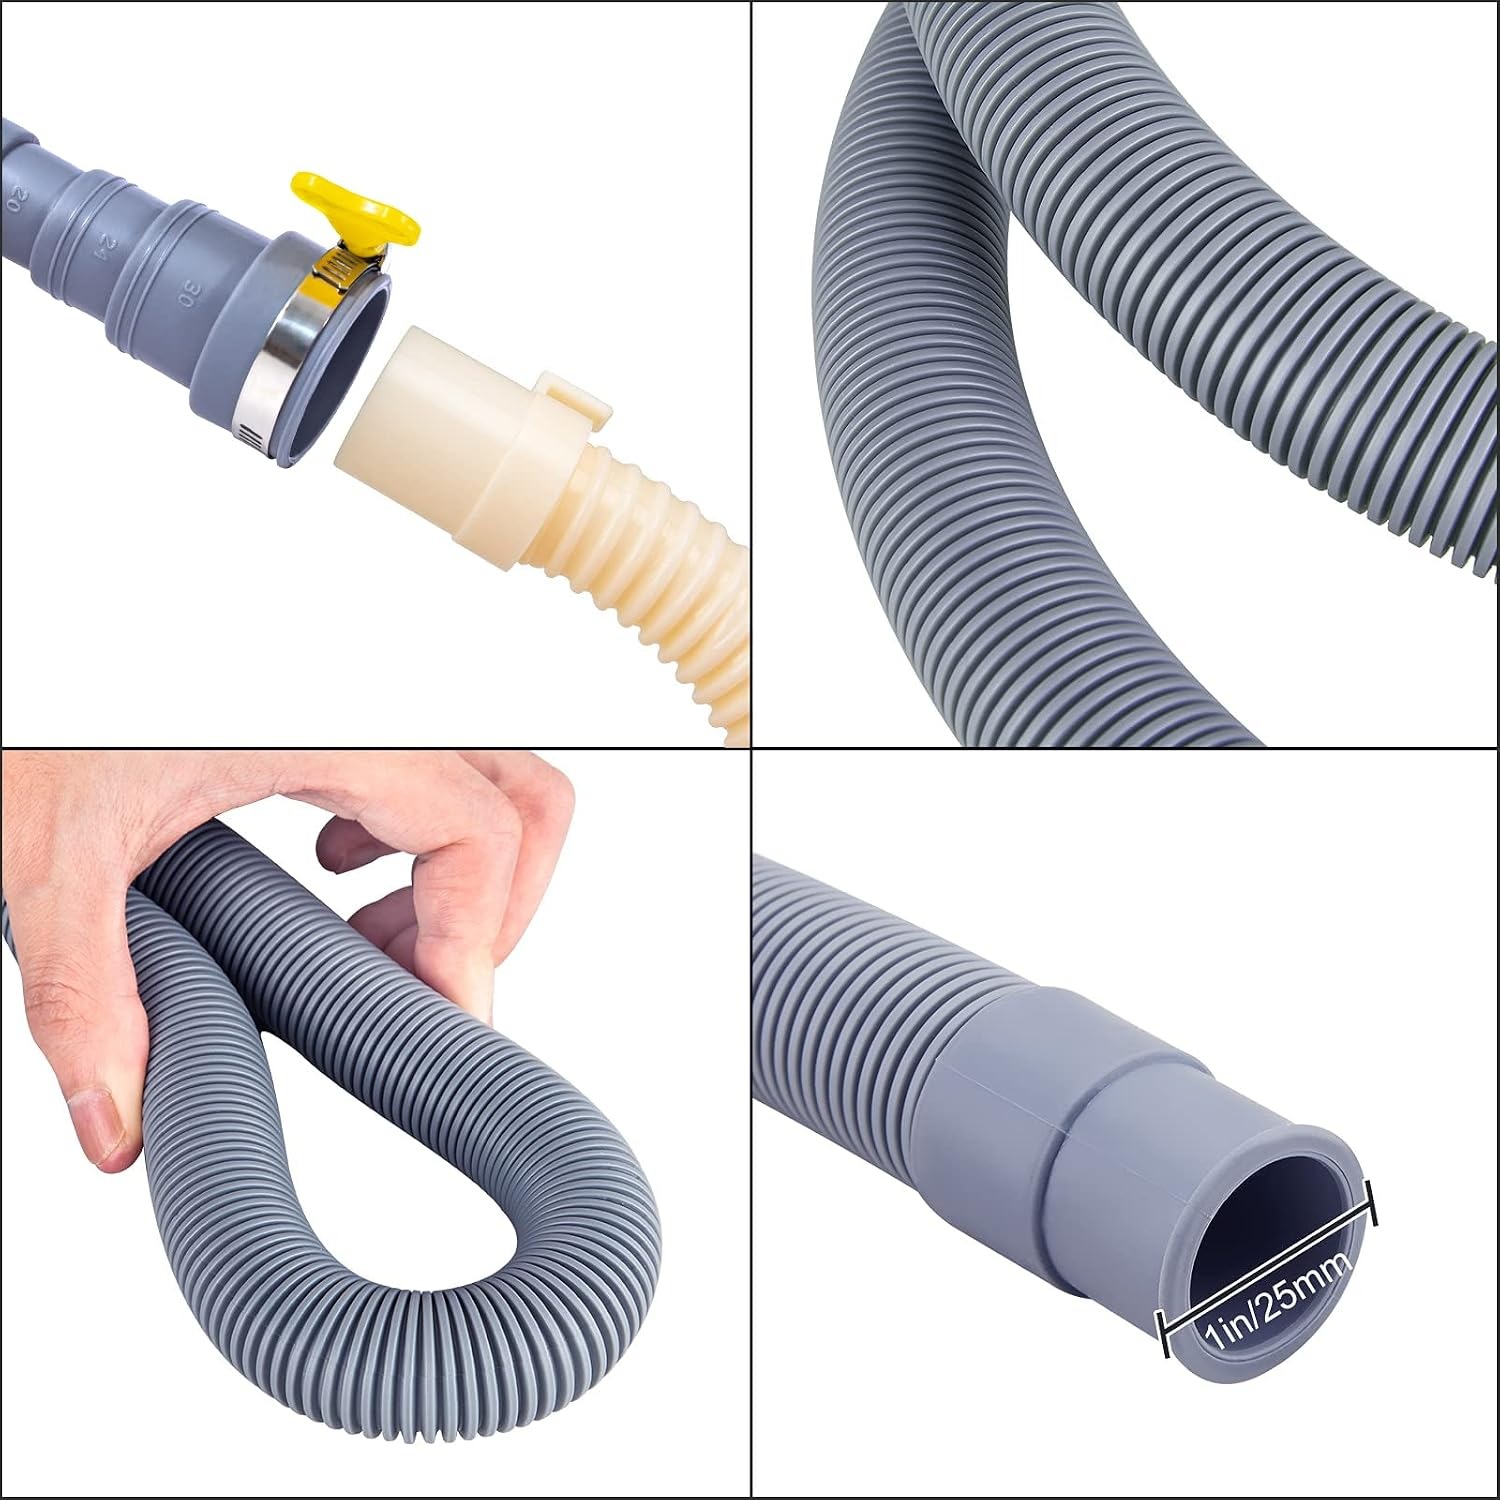
The hose can be used two ways. Connect it straight to the washer as the drain hose, or join it to the hose already fitted and use it as an extension. The second option is the more common one, because it means you are not disturbing the factory connection at the machine.
How a washer drain actually works
Understanding this makes the fitting decisions obvious.
Your washer does not let water fall out. It pumps it out, under pressure, in a short burst at the end of the cycle. That is why a loose hose does not just dribble, it sprays. It is also why the clamp is not an optional extra.
The pump has a maximum height it can lift water to, and that figure is in your machine's manual. A longer hose does not change that. If the standpipe is higher than the pump can manage, no hose will fix it. What a hose can do is get the discharge point to the right place horizontally, which is almost always the actual problem.
Resistance matters too, but less than people assume. Six feet of smooth bore hose adds very little. A single sharp kink adds far more than the whole length does. That is why a flexible hose that holds its shape around a bend is worth more than a stiff one, and why a hose squashed behind the machine causes slow draining complaints.
Who this suits
If your washer is a full automatic front load or top load machine and you need more reach, this kit covers the common cases. People fitting a washer into a closet, moving one across a laundry room, draining to a sink rather than a standpipe, or replacing a hose that has cracked or kinked beyond saving.
It suits DIY fitting. Pushing a hose onto a spigot and tightening a clamp with a screwdriver is a ten minute job. What it does not cover is fixed plumbing. If you are thinking about cutting into pipework, moving a standpipe, or adding a new drain connection, that is a licensed plumber's work and worth paying for.
Choosing the right length
Measure the real path, not the straight line. Run a string from the washer's drain spigot, along the route the hose will actually take, up the standpipe or over the sink edge, to the discharge point. Add a bit for the curve you want at the machine end, because a hose pulled tight will work at the joint every spin cycle until something gives.
Then compare that to what you are buying. If the hose is longer than you need, that is fine. It can be cut shorter, and trimming is tidier than coiling three feet of surplus behind a machine that vibrates. Cut it square with a sharp blade so the end seats cleanly on the spigot.
If the hose is shorter than your measurement, do not force it. A hose under tension is a leak waiting for the next heavy load.
Getting the fit right at each end
At the washer end, check the spigot diameter. The hose body is 0.8 inches outside diameter and the stepped outlet gives you the sizes listed above. Push the hose fully on, do not stop halfway.
Position the clamp over the overlap, not right at the edge of the hose. An edge mounted clamp can roll off or cut into the plastic. Tighten it until it bites, then stop. Crushing the plastic does not make the seal better, it makes it worse by deforming the hose where it needs to stay round.
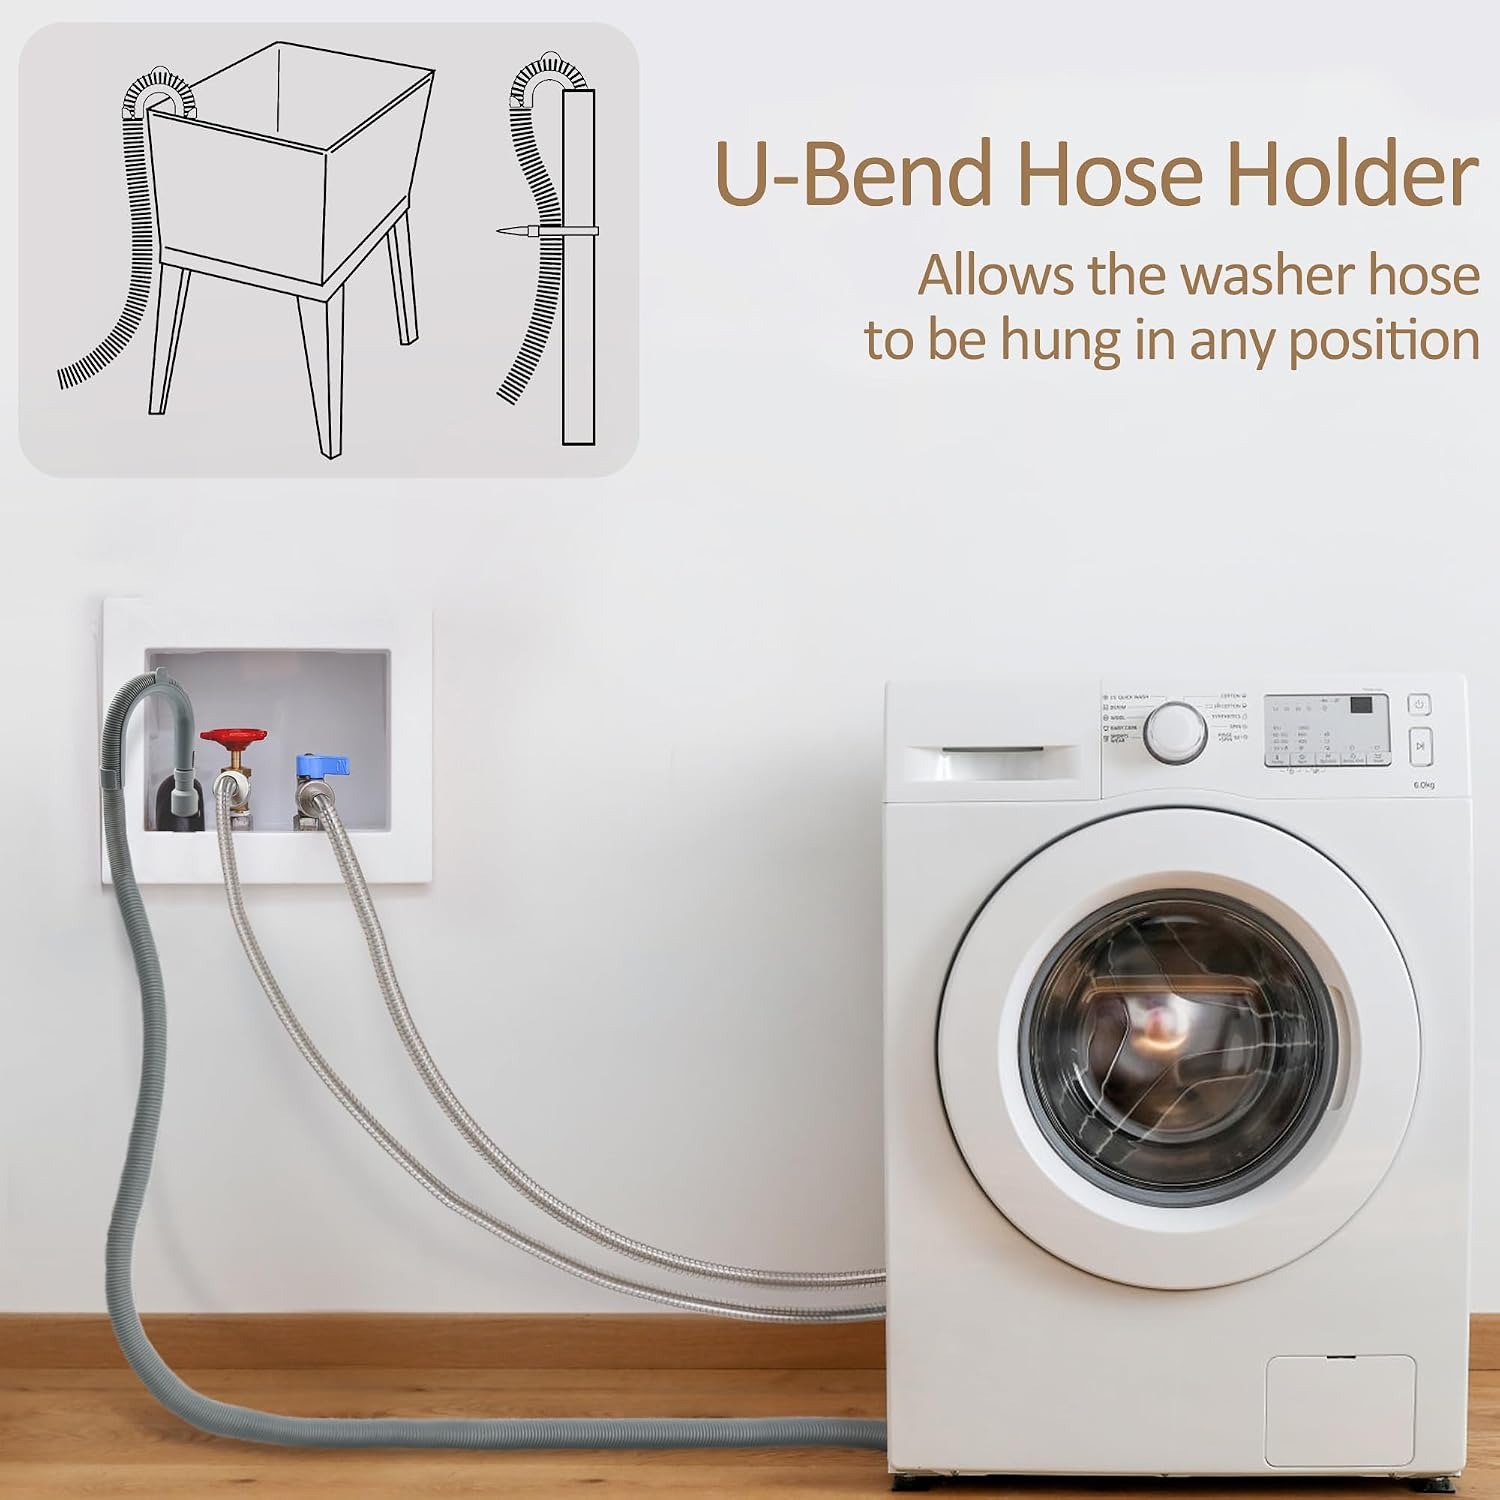
At the discharge end, the hose needs to be held in place. A hose hooked over a sink edge will jump out when the pump kicks in unless something holds it. A hose dropped into a standpipe should go in far enough to stay put but not so far that it seals the pipe and causes siphoning.
Checking your work
Do not push the machine back straight away. Run a short cycle and watch. Look at the joint at the washer, look at the discharge end, and look at the whole run for any point where the hose has kinked under its own weight.
Dry the hose with a cloth first if you can. A dry hose makes a weep obvious within a minute, where a damp one hides it.
Once you are happy, push the machine back slowly and check the hose is not being pinched behind it or trapped under a foot. That is the single most common cause of a drain hose failing six months after a perfectly good install.
Keeping it working
Flush the hose with clean water occasionally, especially when you move the machine for any reason. Lint and detergent film build up inside over time, and a flush shifts most of it. This is also the easiest way to keep the hose from developing a stale smell.
Check the clamp screw every few months. Vibration loosens fasteners, and a quarter turn now is cheaper than a wet floor later.
Watch for warning signs. Cracks, a soft patch, a kink that no longer straightens out, or staining around the clamp all mean the hose has done its time. Replace it rather than patching it. Avoid chemical drain cleaners in the hose, since they do the plastic no favours.
When the washer is stored or moved, coil the hose loosely rather than folding it flat. Folds become permanent kinks.
The short version
A washer drain hose extension 6 ft long solves one specific problem: your machine cannot sit where you want it because the factory hose will not reach. This kit gives you flexible plastic hose plus an 18/8 stainless steel clamp, with a stepped outlet end that covers four common sizes and the option to trim it shorter.
Measure the real route before you order. Check your machine's maximum discharge height in its manual. Clamp the joint properly, leave a gentle curve rather than a tight pull, and run a test cycle before you push the washer back against the wall. Leave fixed pipework to a licensed plumber.
Get those few things right and a drain hose is one of the cheapest, least dramatic parts of a laundry room. Get them wrong and it is the part you remember.