
The complete guide
How to Choose a Tip Toe Tub Drain Stopper That Actually Seals
The problem with the stopper you already have
Bathtub stoppers fail slowly, so most people put up with it longer than they should. You run a bath, get in, and twenty minutes later the water is sitting lower than it was. Or the lift and turn knob has gone stiff and you have to wrestle it every time. Or the trip lever on the overflow plate does nothing at all anymore, because the linkage behind the wall has slipped out of adjustment.
None of this means the tub is finished. It usually means one small part has worn out. The frustrating bit is that replacing a whole drain body is a proper plumbing job, and for a problem this small, that feels like too much.
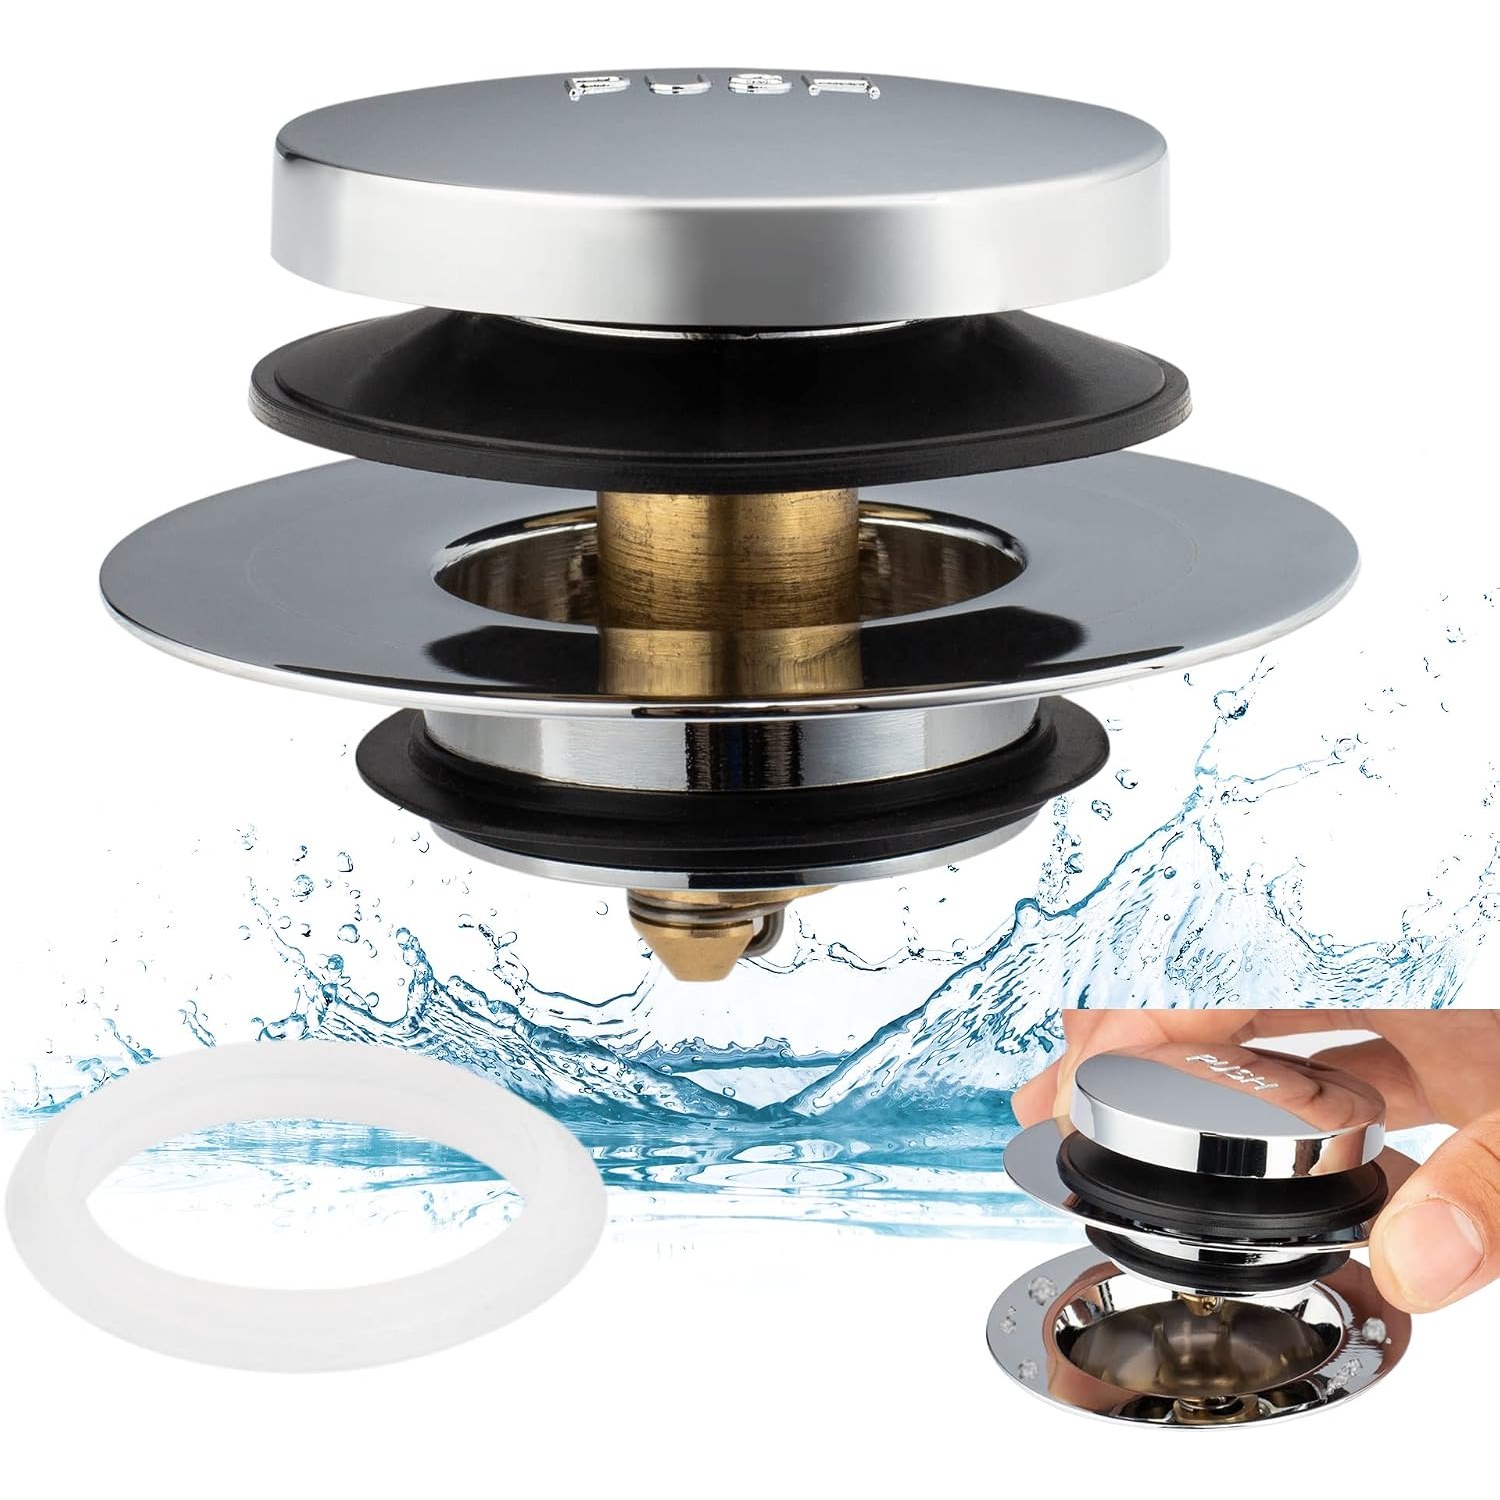
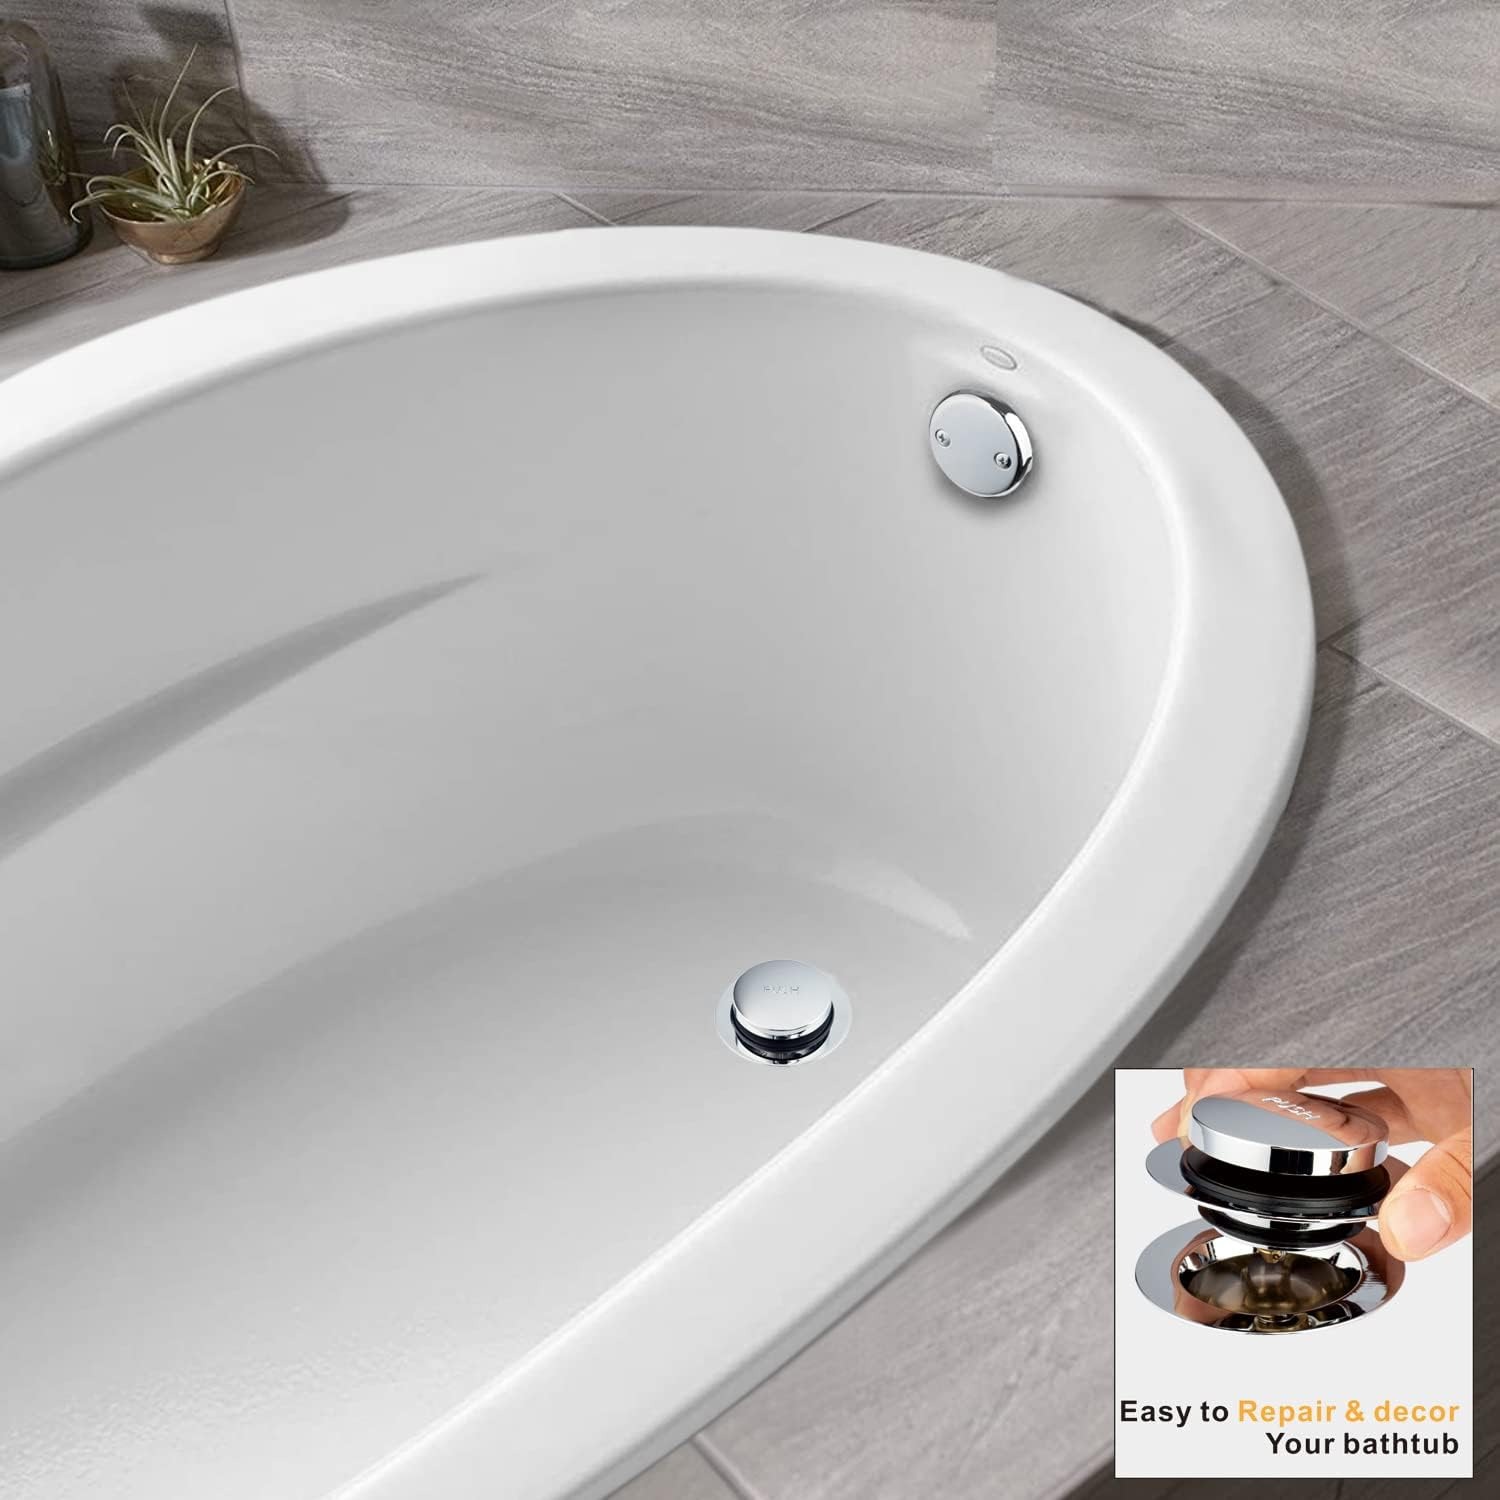
A tip toe stopper sidesteps the whole thing. It sits in the drain opening you already have, seals against the inside wall with a rubber o-ring, and does the sealing job itself. The old drain body stays where it is, doing nothing but holding the new part.
How a tip toe stopper works
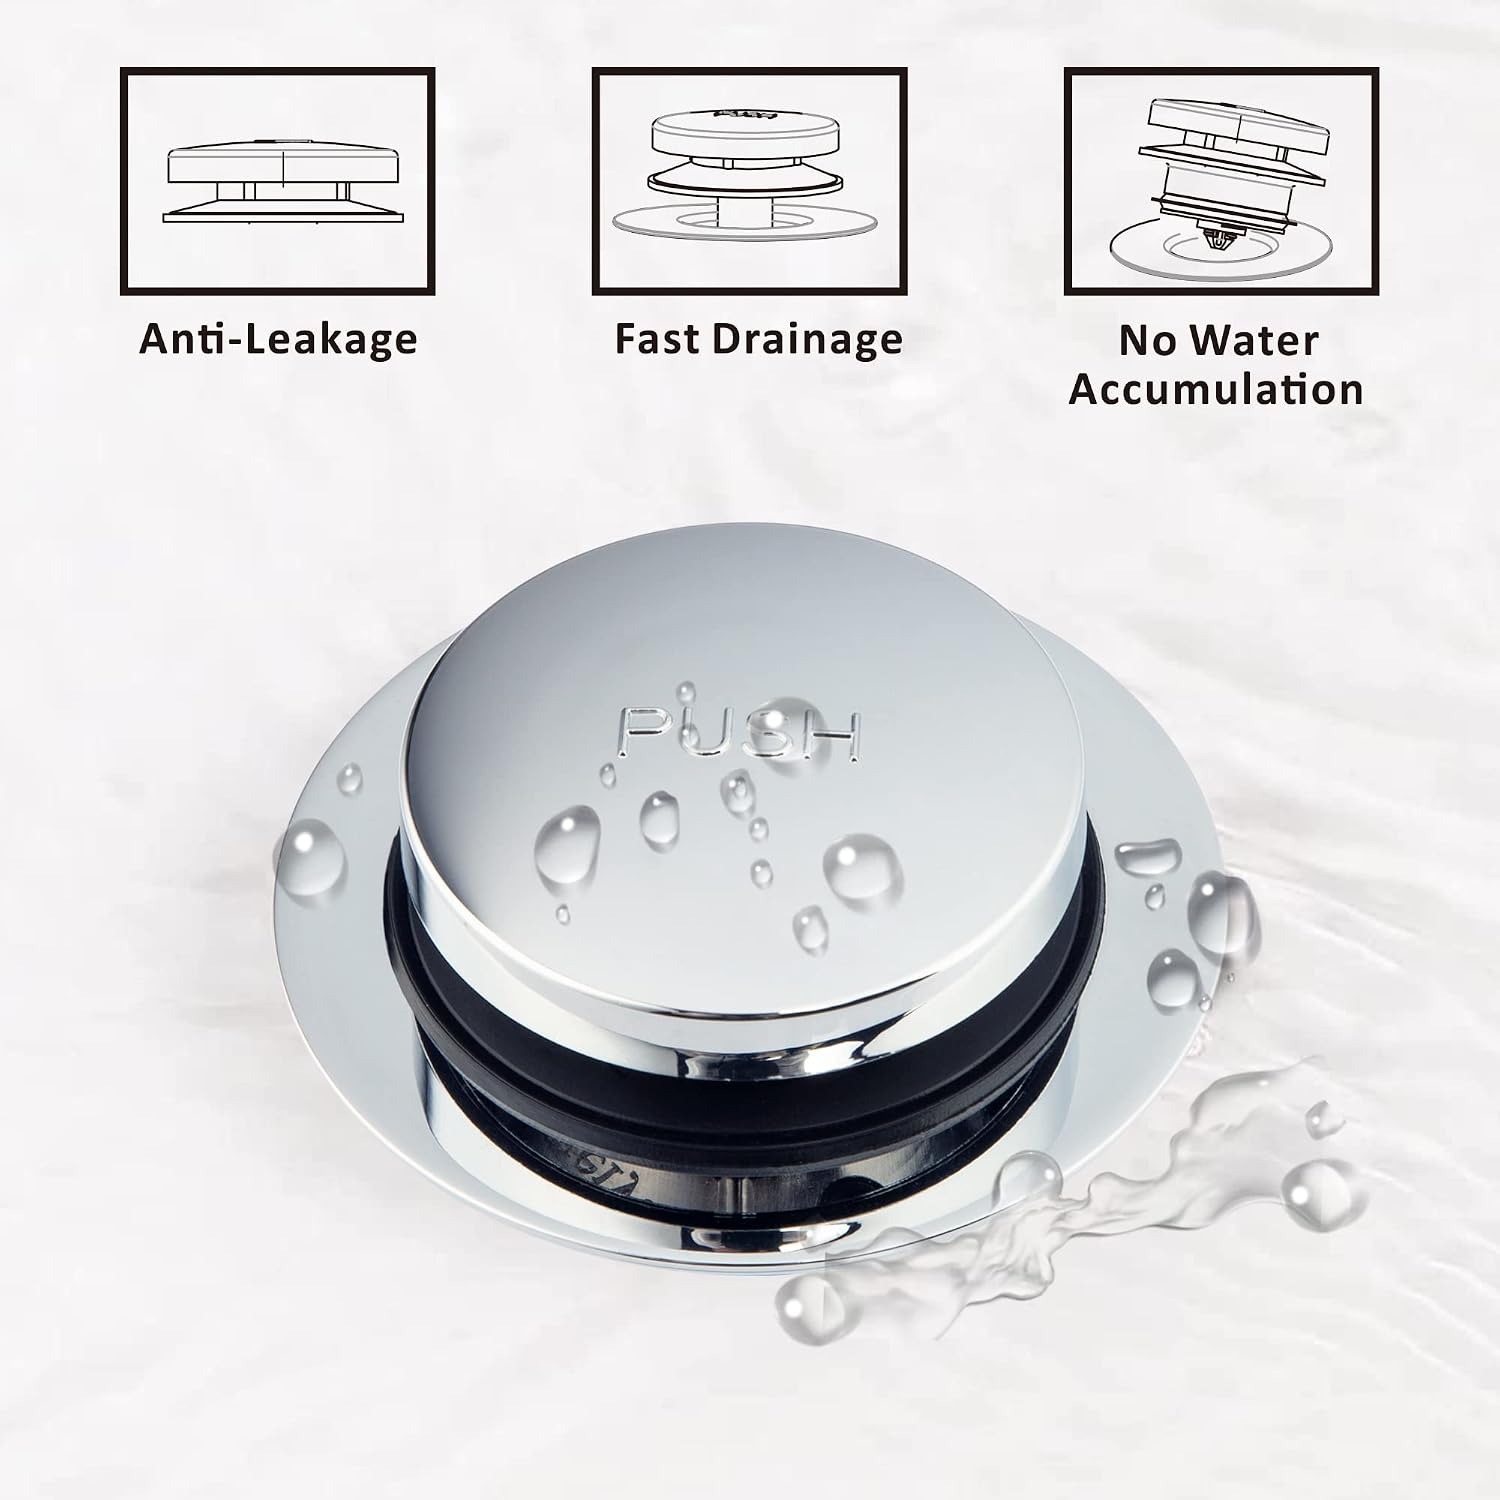
The mechanism is a spring and a catch. Press the top with your foot and the stopper drops into the drain and locks down. Press again and the catch releases, the spring pushes it back up, and the water goes out. Same idea as a retractable pen, just bigger and made for water.
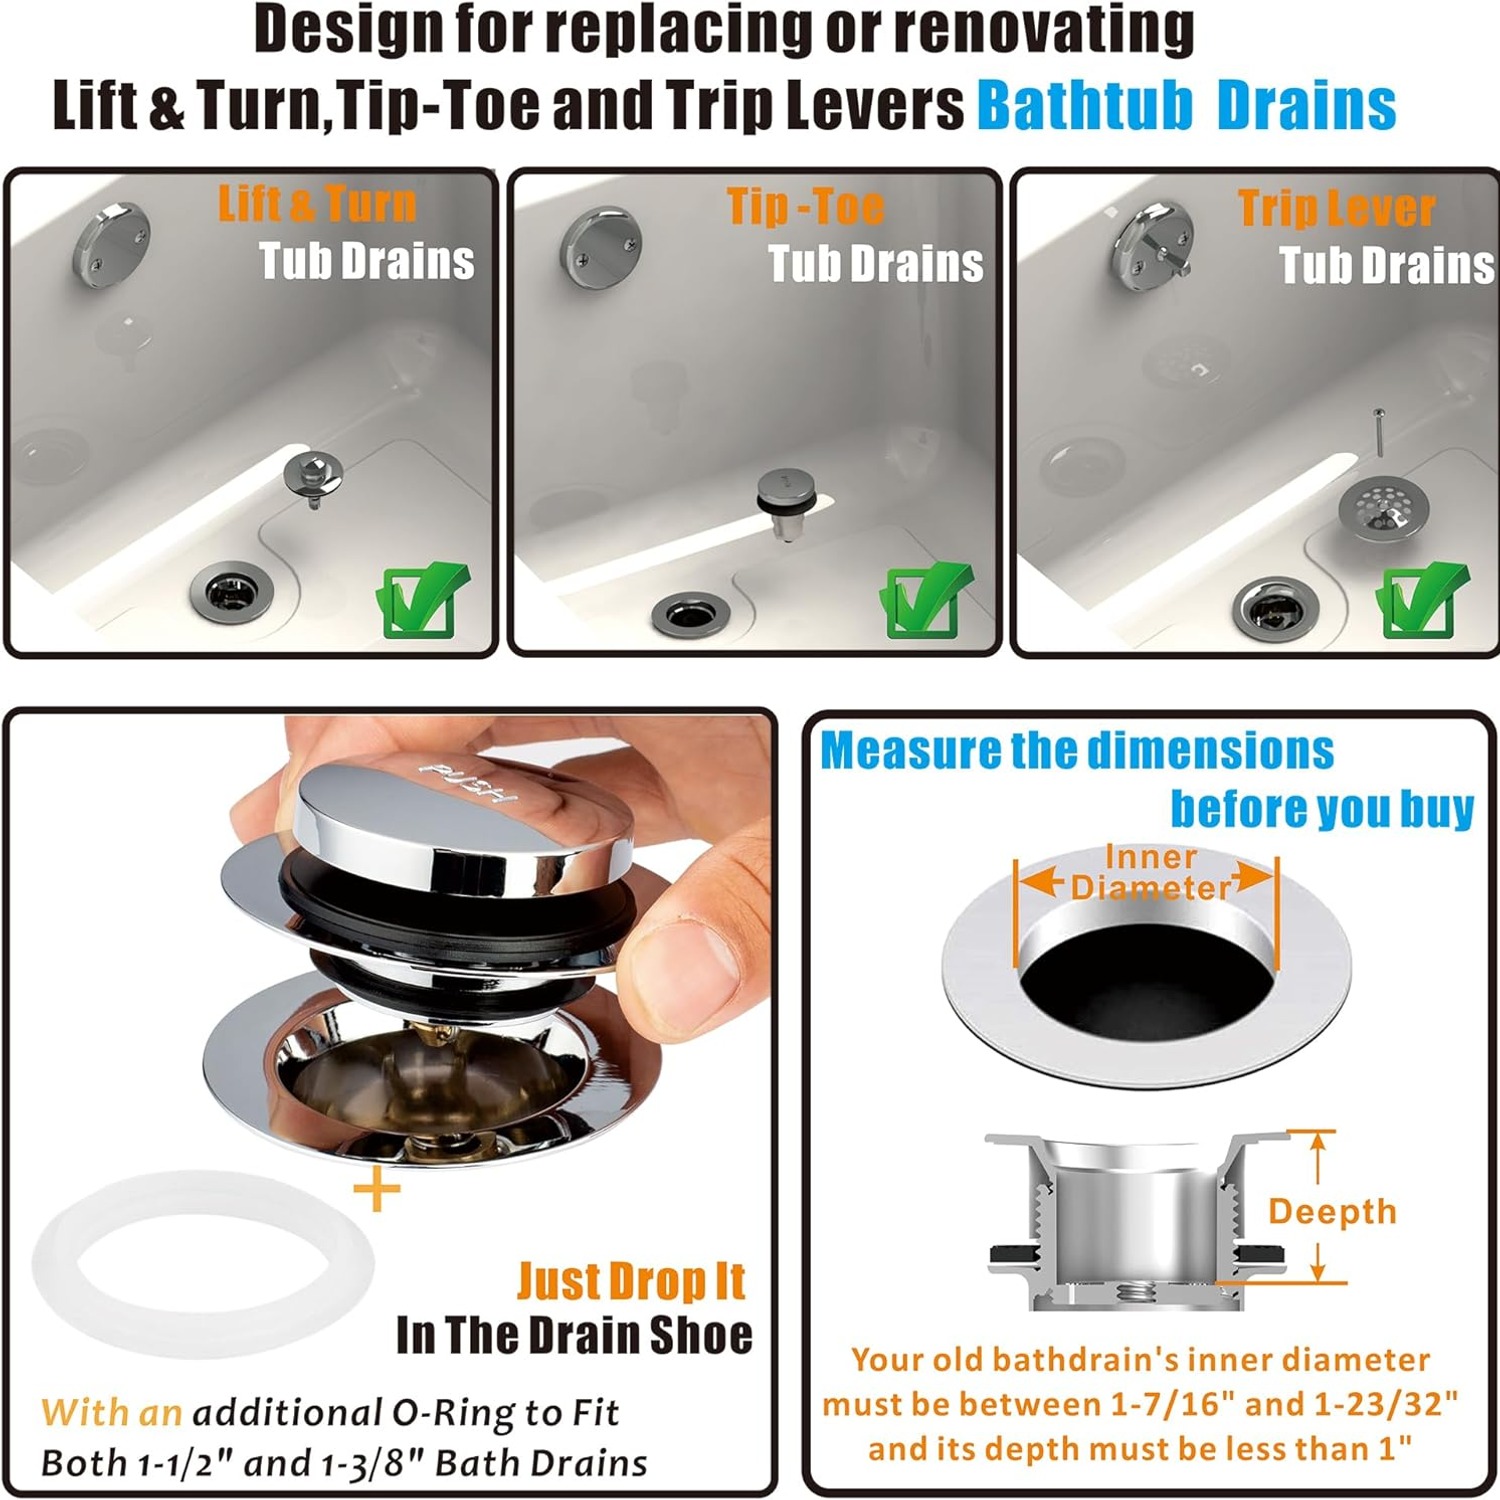
Compare that to the two older styles. A lift and turn stopper has a threaded post you grab, lift, and twist to lock. It works fine until the threads wear or corrode, and then it either spins freely or jams. A trip lever drain runs a metal linkage from the overflow plate down inside the wall to a plunger. When it goes out of adjustment, you cannot see the problem and you cannot easily reach it.
The tip toe design has fewer parts in play and all of them are right there at the drain opening. If something needs attention, you can see it and reach it.
Why brass matters here
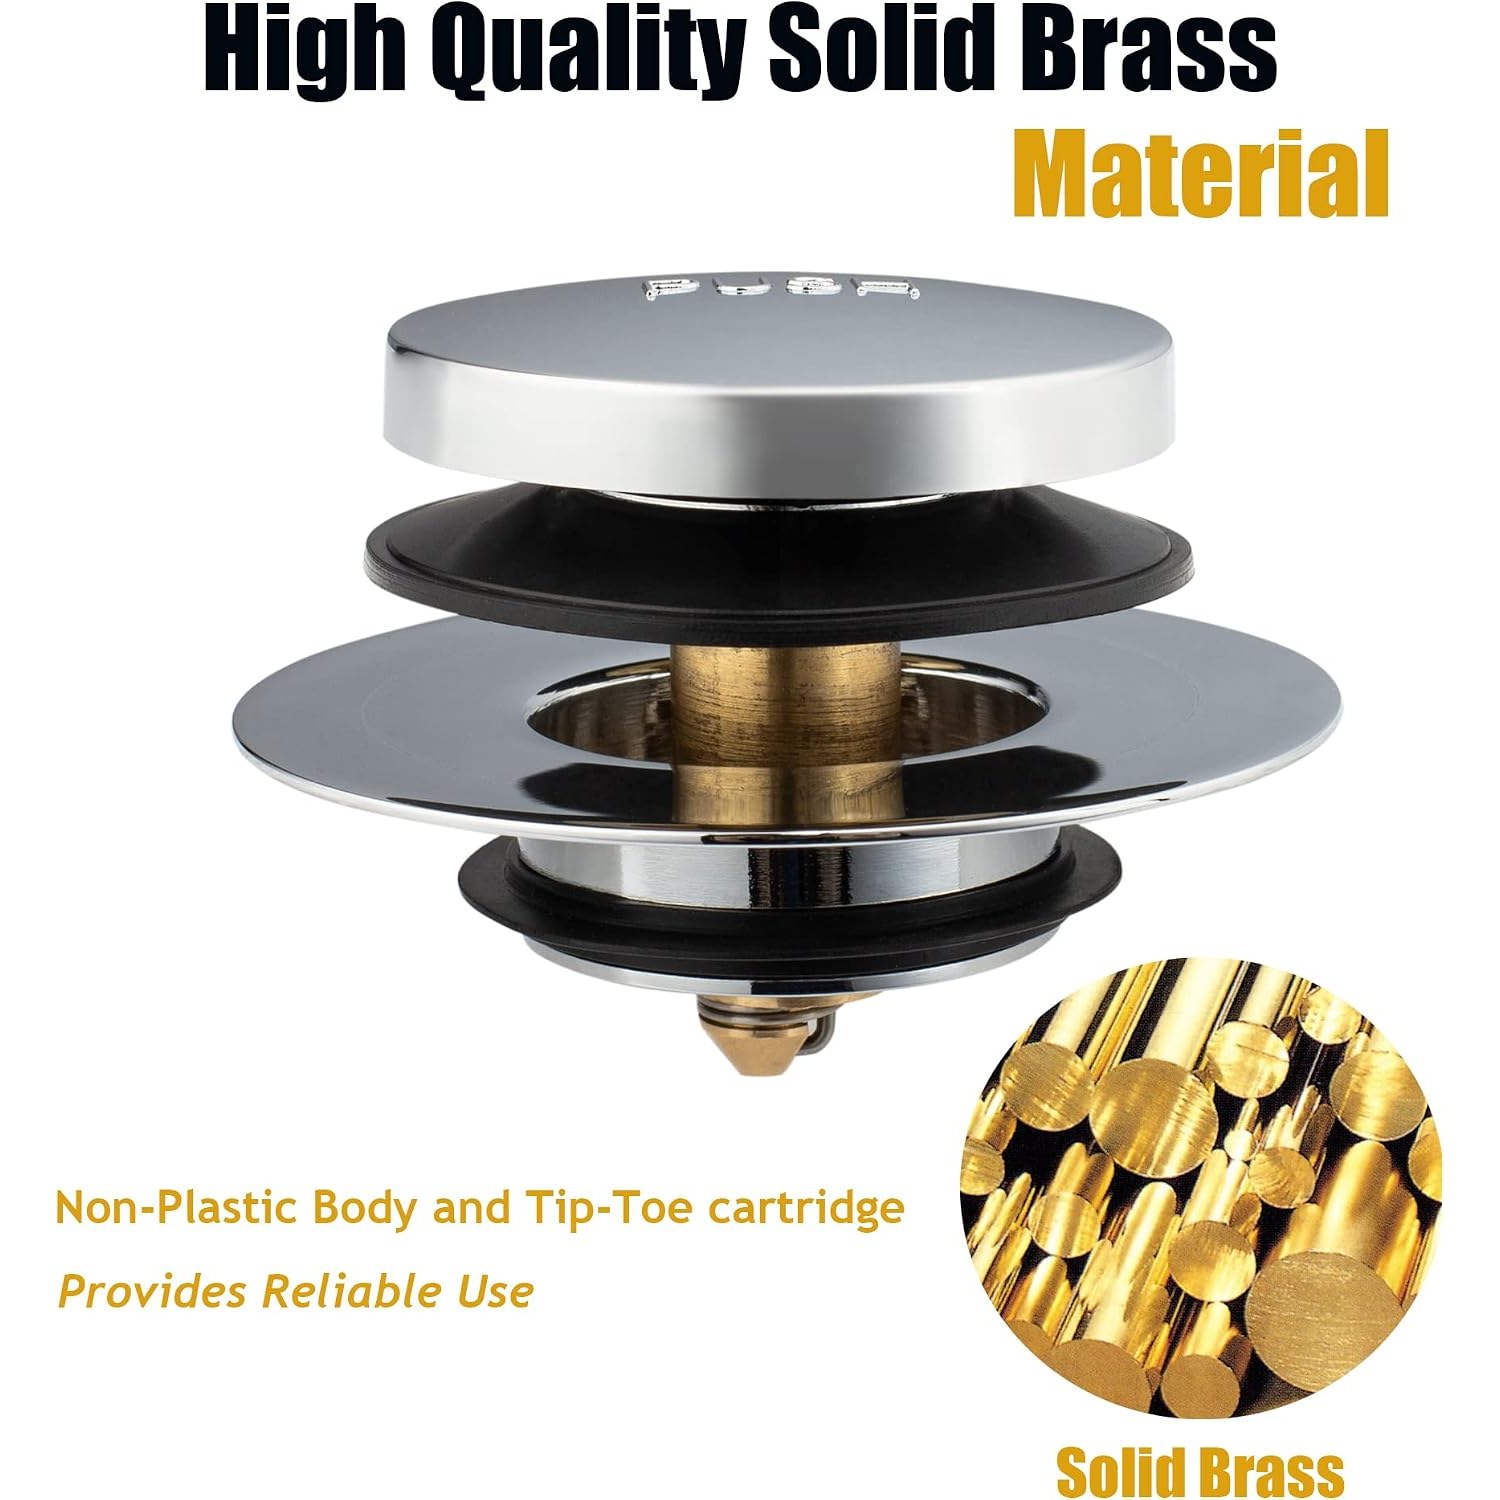
This stopper is made of brass with a tarnish-free finish, and that is not a cosmetic choice. A drain stopper spends its life wet, then dry, then wet again, sometimes with soap, shampoo and hard water in the mix. Thin plastic goes brittle in that environment. The spring in a cheap stopper is often the first thing to give up.
Brass handles that cycle well. It also gives the part some weight, 0.15 kg in this case, and weight is useful. A heavier stopper sits down into the opening and stays put while the tub fills, rather than shifting under the pressure of incoming water.
The tarnish-free finish is there for the visible part. The cover is the bit you look at every day, and a finish that clouds over after six months makes the whole bathroom look older than it is.
Getting the size right
This is the step that decides whether you are happy or not, so it is worth five minutes.
Pull out your current stopper and look into the drain. You need two measurements. First, the inside diameter of the opening, measured across the widest point. Second, how deep the opening runs before it narrows down into the pipe.
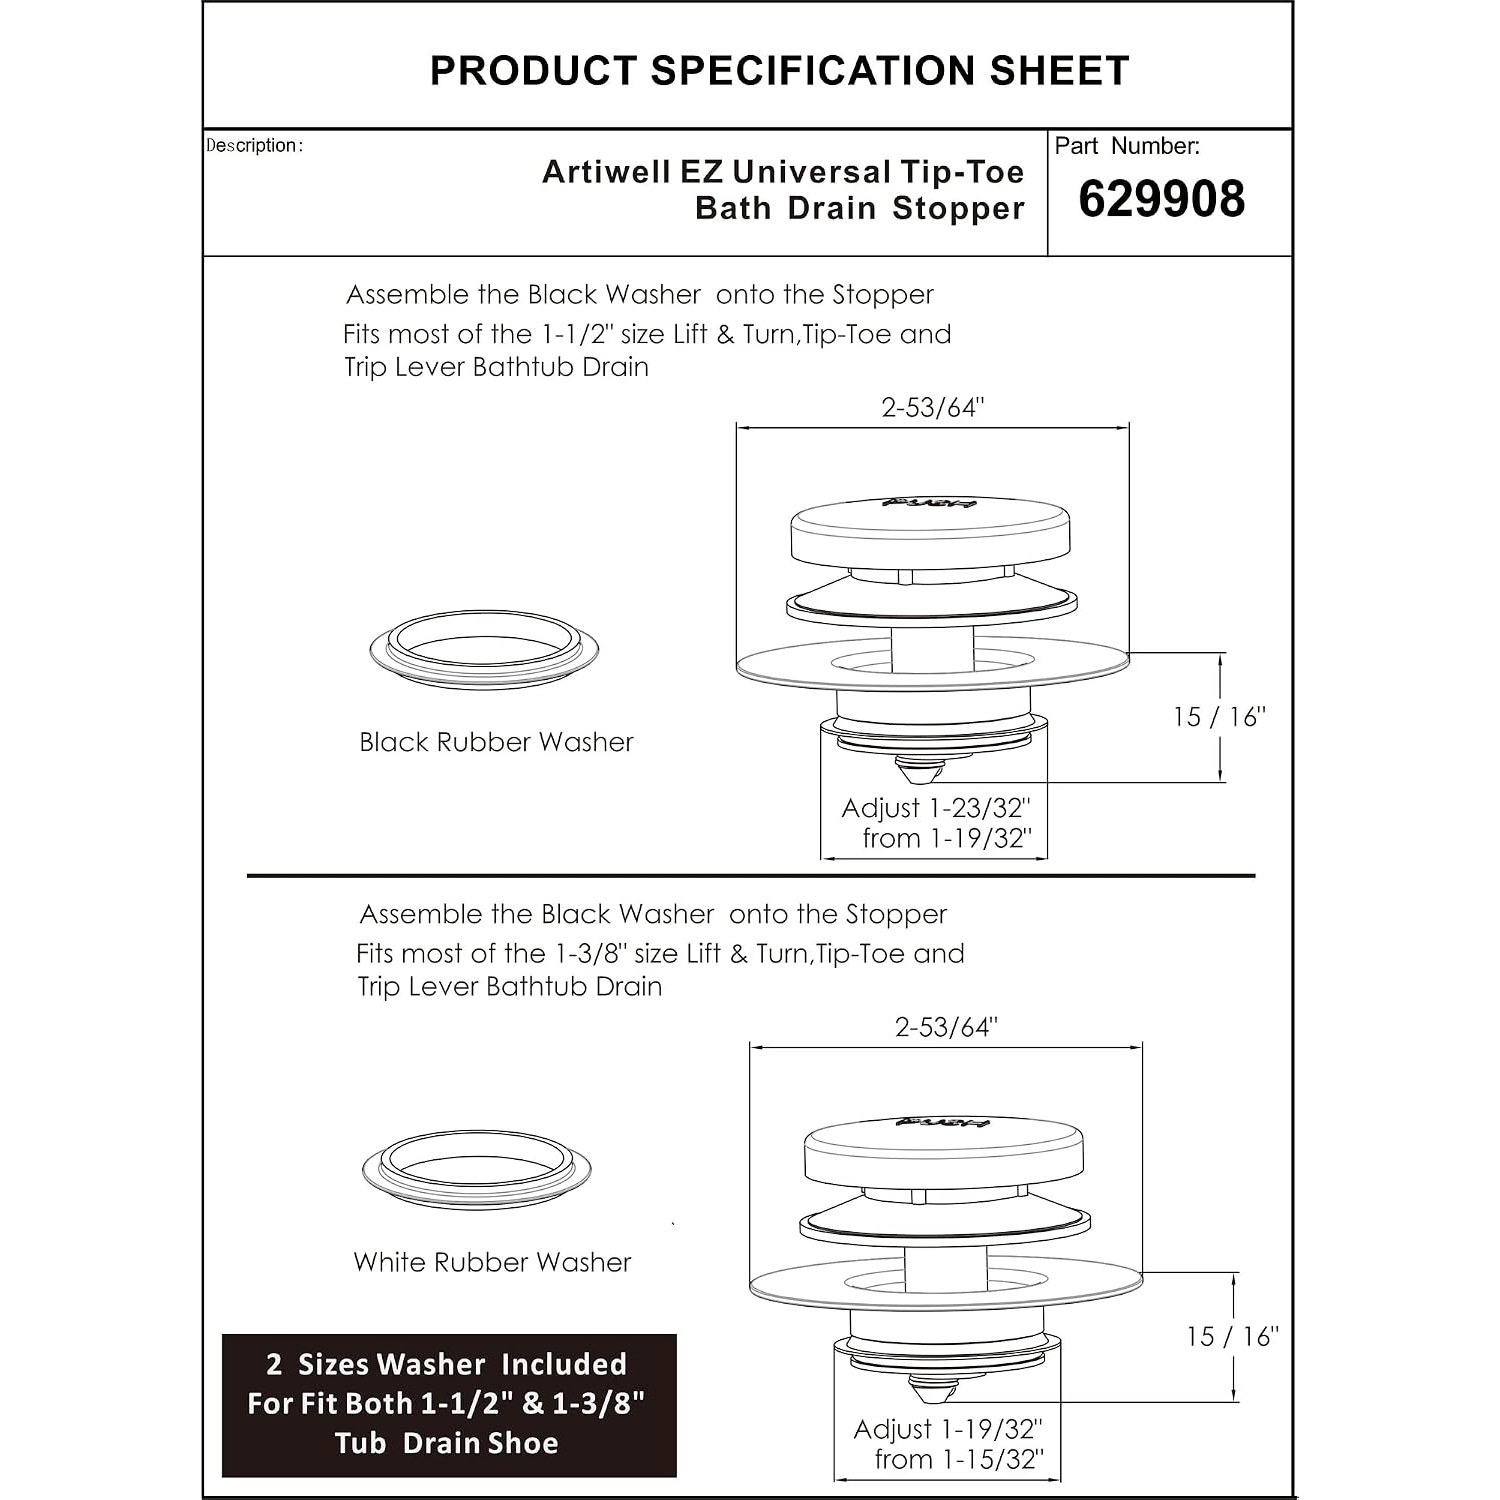
The stopper comes with two o-rings, one for 1-3/8 inch drains and one for 1-1/2 inch drains (roughly 35 mm and 38 mm). Pick the ring that matches what you measured. If your drain opening falls between the two or sits outside that range altogether, this is not the right part for your tub, and it is far better to find that out with a ruler than after it arrives.
Depth matters too. The stopper body needs room to drop into the opening. If the drain narrows almost immediately, there may not be enough clearance for it to seat properly.
Nobody can promise a stopper fits all drains, and anyone who does is guessing. Measure first.
Fitting it
With the right o-ring chosen, the actual install is short.
Take the old stopper out. On a lift and turn, that usually means unscrewing the knob then the post underneath. On a trip lever setup, the plunger is behind the overflow plate, and you can simply stop using the lever and leave it alone.
Clean the drain opening. Hair, soap scum and old sealant residue all sit on the surface the o-ring needs to grip. A cloth and some warm soapy water is enough. Dry it off.
Slide the correct o-ring into its groove on the stopper. Make sure it sits evenly all the way round with no twists.
Press the stopper into the drain opening until the cover sits flush. You should feel the o-ring compress slightly. Press the top once to seal, fill the tub a few inches, and watch for a minute. If the level holds, you are done.
No putty, no tools, no pipe work. That is the whole point of this style.
Who it suits
People with sore knees or a bad back get the most out of it. Not having to lean over and reach into a tub full of cooling water is a genuine improvement to a daily routine.
Renters do well with it too, because nothing permanent changes. Your drain body is untouched. If you move, the stopper comes out and goes with you.
Households with long hair benefit for a different reason. The cover lifts straight out, so the hair that collects just below the surface is immediately accessible. On an older stopper with a fixed post, that same hair wraps itself around the shaft and stays there until the tub drains at a crawl.
It also suits anyone who likes a tidy bathroom. A flush brass cover looks like it belongs. A rubber plug on a chain looks like a temporary fix that lasted four years.
Keeping it working
Lift it out every week or two and clear the hair and soap film by hand. Rinse it, drop it back in. That one habit does more for tub drainage than anything else you can do.
Wipe the visible cover with a soft damp cloth and mild soap. Dry it with a towel to avoid water spots, especially if your water is hard. Skip scouring powders, steel wool and strong solvents, because they dull the finish and there is no way back from that.
We do not suggest chemical drain cleaners. They are rough on rubber seals and on finishes, and the simpler route is clearing hair before it becomes a blockage.
If the seal starts to feel soft over time, take the stopper out and look at the o-ring. Usually it just needs cleaning and reseating. Grit caught under a ring is the most common reason a tub slowly loses water.
When this is not the answer
Honesty is more useful than a sales pitch here. A stopper seals the drain opening. It does nothing about a blockage further down the pipe, and it does nothing about a cracked drain body or a leak under the tub.
If water is appearing on the ceiling below the bathroom, or the tub drains slowly even with nothing covering the opening, you have a different problem and it needs a licensed plumber. Fitting a new stopper will not hide it and will not fix it.
What this part does fix is a drain opening that no longer seals, and a stopper mechanism that has worn out. That covers a very large share of bathtub complaints.
The short version
If your bath will not hold water, or the old lift and turn knob has gone stiff, this is the small, cheap, fast fix before you call anyone. Measure the inside diameter of your drain opening. If it is around 1-3/8 inch or 1-1/2 inch with a shallow opening, fit the matching o-ring and press the stopper in.
You get a brass part with a tarnish-free finish instead of brittle plastic, a seal you control with your foot, and a cover that lifts out in two seconds when it is time to clear the hair. No tools, no putty, no afternoon on the bathroom floor.
Measure first, order the right finish for your faucet, and you will have a tub that holds water again by the end of the day it arrives.